Learn How To Draw A Speedboat Quickly
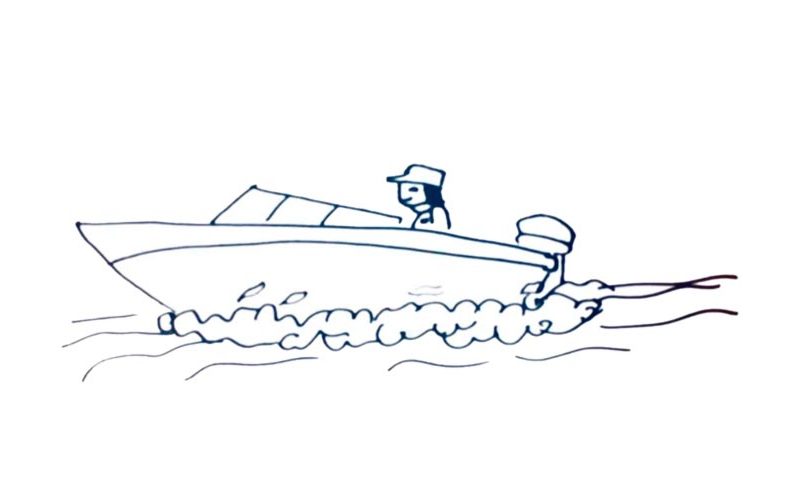
Start in the far left corner with the boat’s “beak” (00 min 05 sec). The line covering the top of the vessel comes next. Make sure it’s straight in the beginning but goes a bit lower on the right side. You’ll need a similar line below the original one (00 min 12 sec). The next step in this how to draw a Speedboat tutorial is the “foam” at the very bottom of the paper.
It’s meant to represent the disturbed water under the boat that’s moving at a high speed (00 min 20 sec). It resembles a long yet narrow cloud. Use a series of repetitive curves like you see in the video to make it look realistic. The lines on both sides and below this “cloud” are the calm waves (00 min 35 sec). Don’t try to be super accurate with those – just add a bunch of lines here and there.
Ok, we’re off to the final steps in this how to draw a Speedboat tutorial. The engine on the left is simple (00 min 51 sec). Same goes for the windshield (01 min 00 sec). You’ll need four basic lines for it. The fella behind the wheel is also quite easy. He’s got a cool cap on, though (01 min 07 sec) :).
Before you learn how to draw A Speedboat, did you know?
Take a look at that guy’s face: doesn’t he look like the king of the mountain? That’s because he has a cool speedboat that he is free to use to conquer the seas. It comes with a powerful engine that can overcome even the strongest waves. As you can see, it’s located in the back, which is a very common thing for this type of motorboats. It makes manufacturing cheap.
The boat in this example isn’t particularly fancy and only has room for 5-6 folks. If you’re planning on having a trip with your close friends, that’s more than enough space. Safe, reliable, and totally affordable (especially if you rent it), a speedboat can turn your boring weekend into a party of epic proportions. Let’s chase the waves together!
