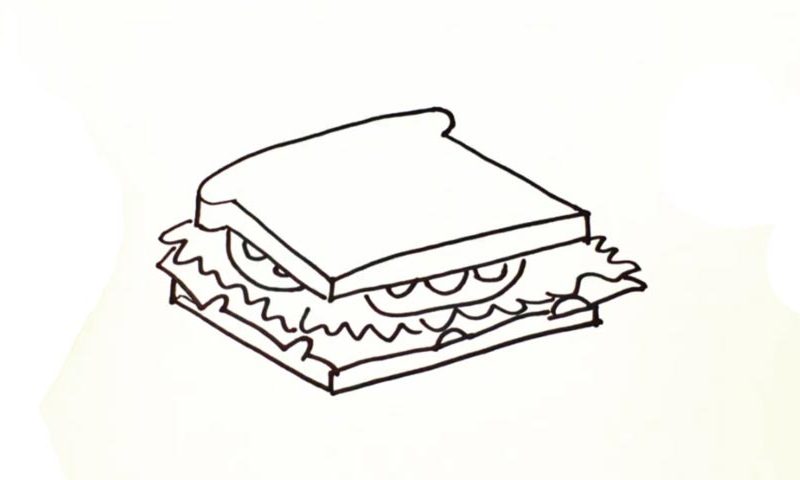
Learn How To Draw A Sandwich Quickly
We start with the upper half, the bread that sits on top of this “construction” (00 min 07 sec). It’s pretty standard, but, because this how to draw a Sandwich tutorial is in 3D, you’ll have to create additional lines on the left side and at the bottom. The tasty ingredients follow (00 min 35 sec). We believe it’s sausage or bacon there.
You’ve got two of those, and they’re sitting on top of a huge salad that covers the lower half (00 min 50 sec). Use zigzag-like lines for the salad to make it look like the real thing. There’s probably a lot of sauce in there, along with some cucumber slices. Sadly, we can’t see any of that in the video. What we can see is that delicious cheese (01 min 04 sec).
It’s the next step in this how to draw a Sandwich tutorial. You’ll need to add a series of cuts along the sides just like I did. The final part is the slice of bread that holds it all together (01 min 15 sec). It’s bigger than the one covering the top.
Before you learn how to draw A Sandwich, did you know?
This is one of the best snacks in human history. Technically, you need to put two pieces of bread and one piece of meat between them for it to be called a sandwich. However, these days folks are using all kinds of ingredients while staying true to the original concept of “2 + 1”. It’s super-easy to make a sandwich and it tastes different every single time!
Vegetables, cheese, fish – go with whatever your heart pleases and/or whatever you’ve got in the fridge. There are options for the vegans, for folks who want to gain muscle weight, and for men and women looking to drop some weight. Go ahead and make a sandwich right now. That way, you’ll enjoy this wonderful tutorial even more!

