Learn How To Draw A Swan Quickly
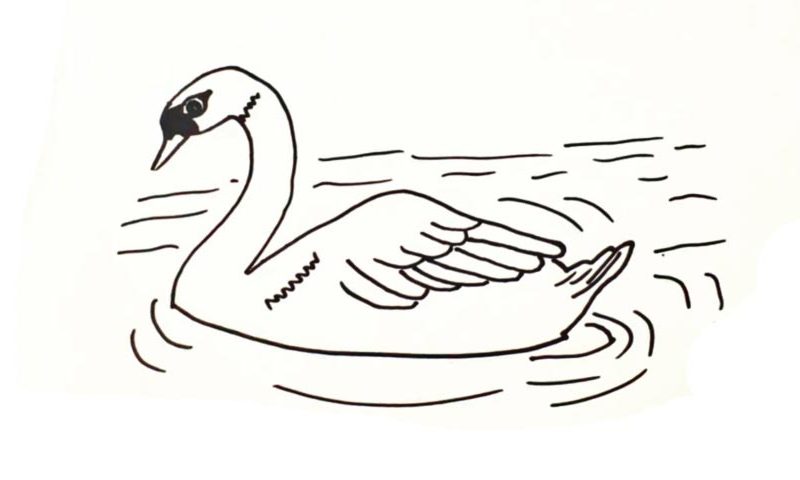
This is one of those “chill” videos, dear friends. The bird looks absolutely gorgeous, but as far as the complexity of this how to draw a Swan tutorial goes, I’d say it’s somewhere around 2 out of 5. Start in the left corner with the beak (00 min 06 sec). It should be nice and pointy. The head comes next (00 min 10 sec). Use two similar lines to cover the neck.
The next step includes the black spot right above its beak (00 min 26 sec). Once it’s in place, get to the lonely eye (00 min 40 sec). Alright, now we move on to the body (01 min 02 sec). See that huge wing covering most of the side? We’ll take care of it first. It consists of multiple similar-looking shapes that sit on top of each other.
Once the first layer is done, move on to the next one (01 min 20 sec). Alright, the hardest part of the how to draw a Swan tutorial is done! Don’t forget about the “zigzag” in the left corner (01 min 26 sec). The short tail in the back follows. To complete this lesson, go back to the neck and connect it to the tail with a super-long line (01 min 40 sec). As for those curvy lines all over the place, they’re just there to imitate the waves.
Before you learn how to draw A Swan, did you know?
Even though most of us never get to see these majestic birds in person, because of the movies and cartoons, we feel like we know them. Swans are truly beautiful and will take your breath away in real life. The ducks and the geese are considered to be the closest “relatives” to swans, as they have similar characteristics and features.
There are no straight rules when it comes to the breeds: some say there are six species of swans living on planet Earth; others claim there are seven or even eight. This is interesting: usually, these birds mate for life, which means they don’t look for other partners. However, if, for some reason, nesting fails, or one of the “spouses” dies, the other one will find a new partner – that’s how it is!
