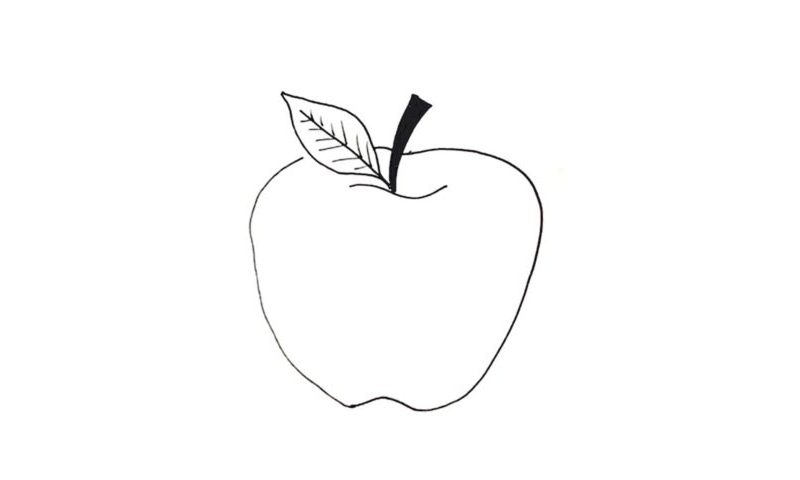
Learn How To Draw An Apple Quickly
The fruit sits in the middle of the paper and consists of simple curvy shapes. It would be best to complete this how to draw an Apple tutorial in several steps. Start in the right corner with a nice and curvy line (00 min 08 sec). It should look a bit like a human ear or a paperclip. The left side of the apple is almost identical to the right one (00 min 20 sec).
Just make sure it’s not as wide. Alright, we have the main body of the apple in place. All that’s left to do now is add the tail and the leaf (00 min 32 sec). The tail sits in the upper corner and looks like the tooth of a scary animal. Don’t forget about the trademark horizontal curve below it to accentuate that the drawing is in 3D.
To complete this how to draw an Apple tutorial, follow my lead and add that leaf I mentioned earlier (00 min 40 sec). It’s pretty standard, nothing special. On the inside, you’ll need a series of V-like lines. Color the tail black, and that’s it (01 min 01 sec).
Before you learn how to draw An Apple, did you know?
No, we’re not talking about the international mogul that has taken over our lives lately. Our focus today is on the incredibly popular fruit that’s equally affordable, accessible, and tasty. This might come as a surprise to you, but there are 7,5K+ cultivars of apples, and they all have their own, unique features and characteristics.
Some can last without water for days; others are incredibly frost-resistible, which makes them perfect for countries like Russia, Canada, Sweden, etc. Back in 2014, the Chinese accounted for almost 50% of the total production of apples on the planet (85 million tons). Again, apples are really popular, and I bet you’ve got one in your fridge right now.

