Learn How To Draw A Sheep Quickly & Easily
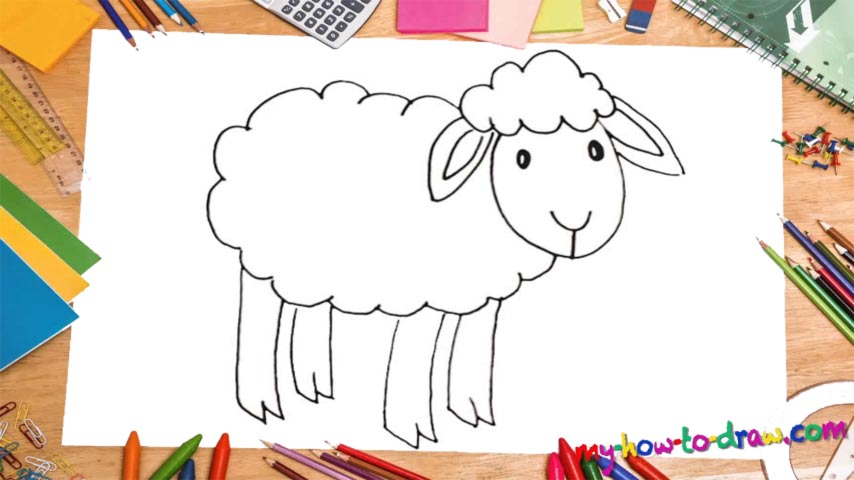
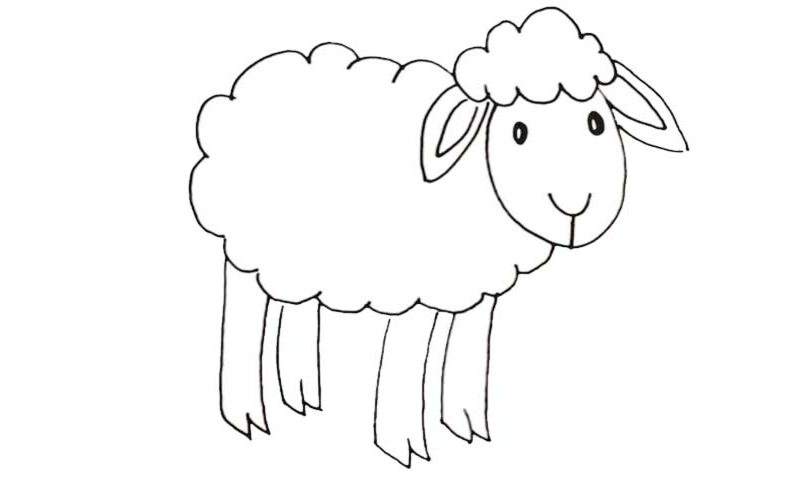
We begin with an oval shape in the left corner for the animal’s head (00 min 07 sec). Then, go ahead and add the tiny eyes (00 min 15 sec). The mouth follows. That’s the intro to our how to draw a Sheep tutorial. See that fluffy cloud on top of its head? That’s the hair (00 min 37 sec). Put it in there right now and get to the identical ears on both sides of it.
If everything’s going according to the plan, leave the head behind for a moment and focus on the body (01 min 22 sec). I recommend completing it in one go as opposed to using several separate lines. Don’t be afraid to use a zigzag-like line to outline the “carcass”. Looks good, doesn’t it, like a giant cloud? We’re almost done with this how to draw a Sheep tutorial. All that’s left to do is add the legs.
Obviously, it’s got four of those, and they are pretty much identical. The only difference – the ones in the front look bigger than the ones in the back. Don’t rush anything and start from the right side (01 min 47 sec). Once you add all four, this video guide will be over. Now you know how to draw one of the most popular animals in the world!
Before you learn how to draw A Sheep, did you know?
The so-called domestic sheep have been living side by side with us, the human beings, for centuries, and there are more than one billion of these animals living on the planet today. We use their milk, fleece, and, of course, meat to make it through the harsh times.
In return, the owners protect them from the wolves and feed them all-year-long. As for their wool, it’s the most popular and cheap animal fiber used by our kind, which makes sheep invaluable for our daily lives. Plus, we do all kinds of experiments on sheep.