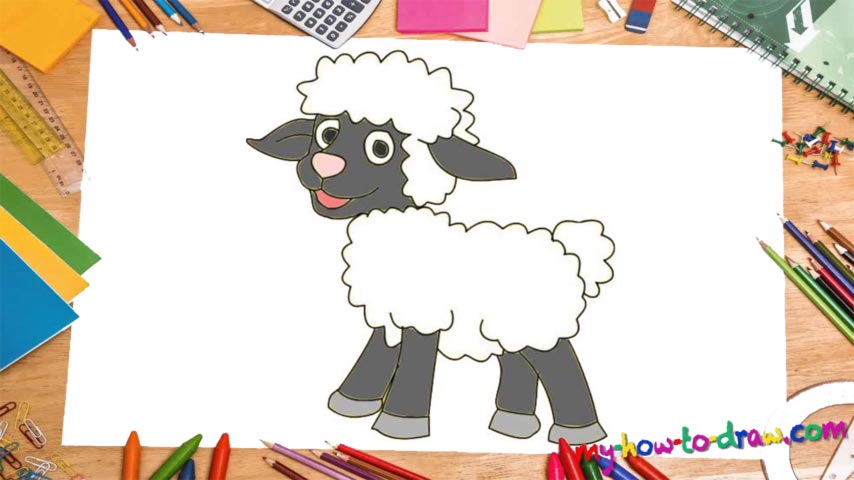
Learn How To Draw A Lamb Quickly & Easily
Don’t know where to start? How about that cute nose (00 min 15 sec)? I always recommend putting it first and moving forward with the how to draw a Lamb tutorial from there. The mouth sits right below it. The eyes are identical, but the right one is partially covered by the nose line (00 min 36 sec). You’ll need two circles (or half-circles, if it’s the right eye) for each. The ear on the right follows (00 min 50 sec).
Use it as the starting point for that gorgeous hair on top of its head. Make the lines extra fluffy to accentuate the fact that it’s fur. The left ear sits on approximately the same level as the right one (01 min 22 sec). And, they look pretty much the same. The next step is the body. Don’t worry – it’s much easier than the head and comes with less details. You’ll need an even bigger fluffy “cloud” to cover it (01 min 25 sec).
This step of the how to draw a Lamb tutorial requires patience and care. Once you’re halfway through, go ahead and add the front legs (01 min 42 sec). Looks good? Then go back to the body and finish it before putting in the rear legs (02 min 10 sec). That cute tail is the last thing to take care of in this tutorial (02 min 27 sec).
Before you learn how to draw A Lamb, did you know?
Lambs are the “children” of sheep and play a very important role in the Bible. In the flock, they always rely on the elders to protect them from the predators, the cold, and to feed them. In that regard, they are very much alike with the human babies.
Jesus Christ is our Shepherd, and the Christians are his sheep. So, treat these funny animals with respect and keep in mind that without them, life would be much harder, even in the technological age. By the way, do you remember Dolly, the cloned sheep?