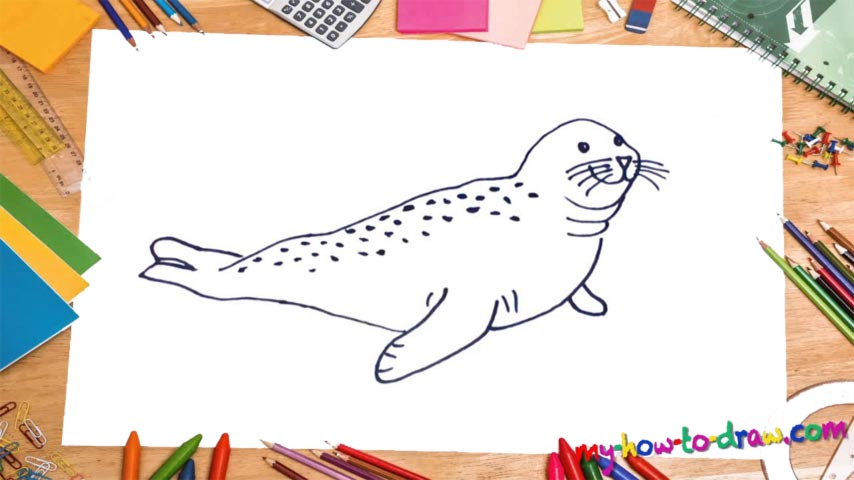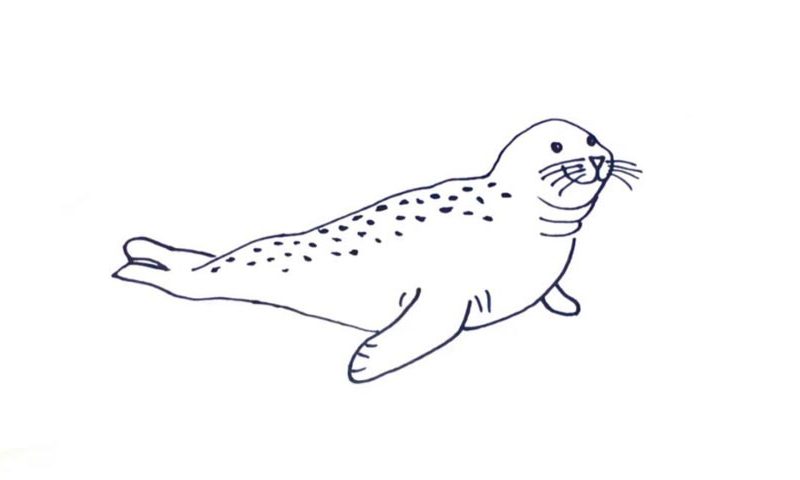
Learn How To Draw A Seal Quickly
As always, the head comes first (00 min 06 sec). The facial features, including the nose, the mouth, and the eyes, follow (00 min 15 sec). The eyes are just two tiny circles; the rest is also easy and intuitive. The whiskers are the next step in this how to draw a Seal tutorial (00 min 30 sec). Overall, it’s got four on each side, and they look truly adorable.
Alright, if you’re happy with everything so far, it’s time to move on to the animal’s body. For the neck, you’ll need two identical curves that copy the bottom of the head (00 min 40 sec). See that large leg slash flipper in the bottom corner (00 min 50 sec)? It’s a basic shape and doesn’t come with any sophisticated details.
Keep following my guide and work on the body until you reach the double tail (01 min 02 sec).The next step of this how to draw a Seal tutorial features a super-long line to cover the back. The right flipper is much smaller than the one on the left (because of the angle (01 min 17 sec). The final task is the dots all over the seal’s body. Make sure they are different in size.
Before you learn how to draw A Seal, did you know?
Do you know why they call the best Spec Ops team in the world the SEALS? Because they feel at home in the water, and that’s a huge part of their routine. As for the wonderful animals, they’ve been around longer than us, the humans, and don’t really like to “show off”.
These semi-aquatic animals prefer to stick to themselves and feed mostly on fish. Overall, there are 33 species of seals living on planet Earth right now. Plus, over 50 species were identified based on their fossils. According to the scientists, these creatures have been around for +/- 50 million years.