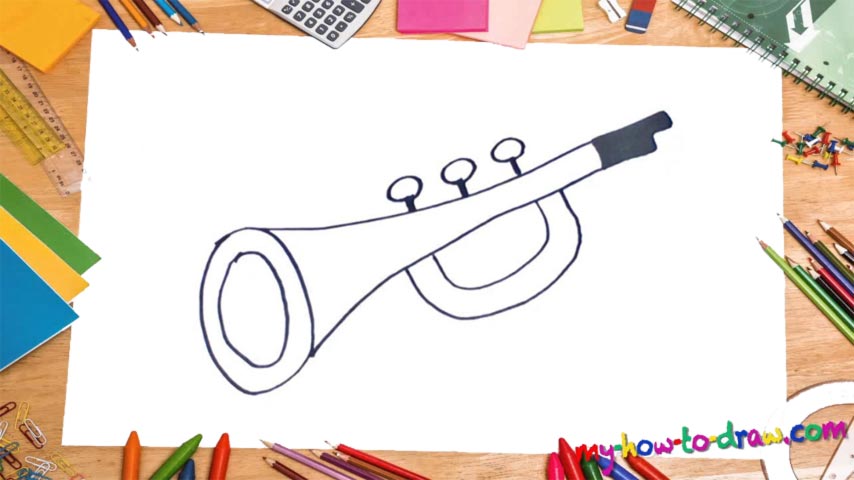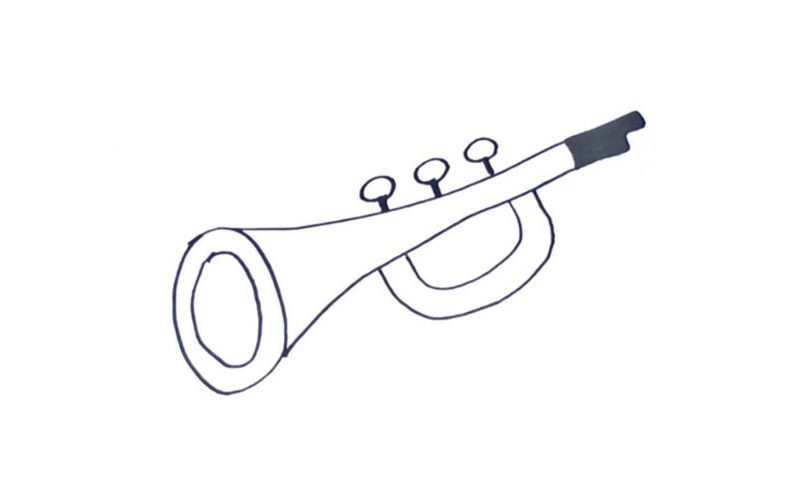
Learn How To Draw A Trumpet Quickly
Do you like musical instruments? If the answer is yes, then we bet you’ll appreciate this how to draw a Trumpet tutorial. It’s pretty simple and doesn’t require any professional skills to pull it off. At the same time, just like any other video guide on our website, it’s informative, and the end result looks awesome. We begin in the left corner (00 min 12 sec).
Our goal is to cover the main body of the instrument. After you add that tiny part in the right corner, draw another line that looks like a reversed copy of the one we just did (00 min 20 sec). Make sure both edges are wide and open like you see in the video. The two circles forming the tip of the Trumpet follow (00 min 26 sec). Now go back to the right end, separate that tiny part and color it black.
Looks almost like the real thing! The next step of this how to draw a Trumpet tutorial is the “handle” at the bottom (00 min 53 sec). It’s very straightforward and intuitive. The final stage includes three similar buttons that allow the player to switch between the notes and deliver breath-taking performances (01 min 00 sec).
Before you learn how to draw A Trumpet, did you know?
As one of the most important instruments in any ensemble, the Trumpet is well-respected around the globe. This is a brass instrument and has a huge role in modern-day jazz music. Back in the ancient times, the trumpet group was used to play the marches during a battle.
It was during the 14th/15th centuries that folks learned how to use it as a part of something much bigger. These days, they are in large demand because of the clever integration into pop and funk music. And, thanks to the popularization of computer programs and synthesizers, every single person out there can turn into a great musician using the so-called sample libraries.