Learn How To Draw A Saxophone Quickly
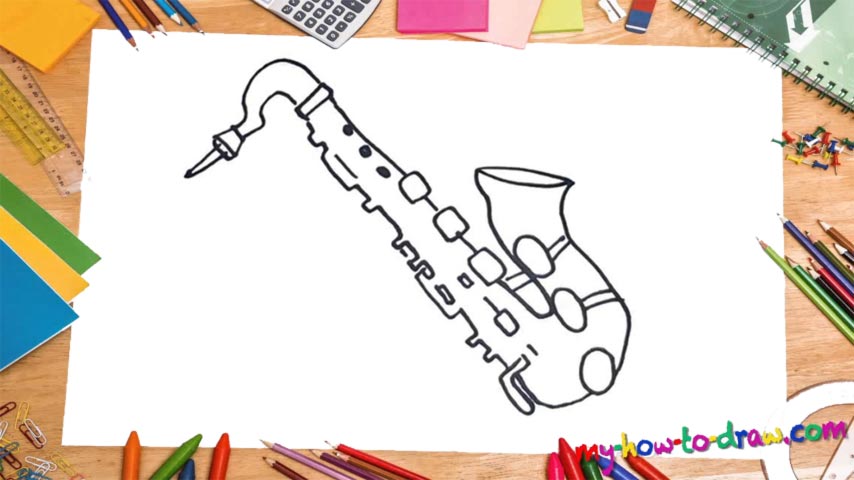
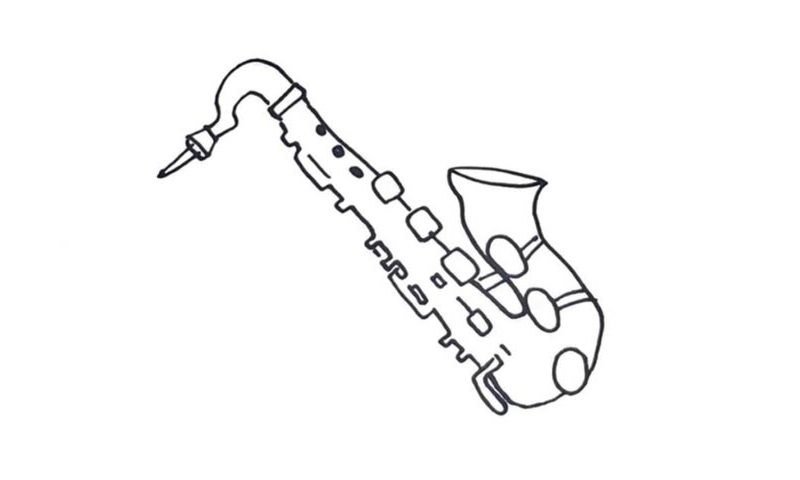
We start in the right corner of this wonderful instrument (00 min 10 sec). Essentially, it’s a pipe, and once you get that image in your head, this how to draw a Saxophone tutorial will become fun for you. Follow my guide on this one and don’t forget to add all those beautiful details that make it look like a million bucks. The wider end is where the sound comes out.
And the much thinner end is where you’re supposed to blow. There’s no point in describing every single feature of the saxophone because it will be much easier and quicker to just check out the video. Make sure that twist is nice and smooth, though (00 min 42 sec). The main “shaft” is covered with “rectangles” on the right side and “spikes” on the left one (00 min 50 sec).
See those dots in the upper right corner (01 min 30 sec)? They are the next step in this how to draw a Saxophone tutorial. You’ll need two identical curves to form the tip of the instrument (01 min 46 sec). Once it’s done, this video guide will be over. As you can see, we’ve got a repetitive pattern in this drawing, and after you get it, the rest will be easy.
Before you learn how to draw A Saxophone, did you know?
Back in the day, when folks like Kenny G used to conquer every single young heart out there, saxophones were in huge demand. Almost every single ballad of that time featured this beautiful instrument, and entire bands were based on its unique and rich sound.
These days, it’s not that popular anymore. However, thanks to the rise of the brand-new genres of dance music, it’s still an awesome pick for a lead instrument. Many modern-day hit records feature saxophones on the hooks slash bridges, and they still sound fresh and cool.