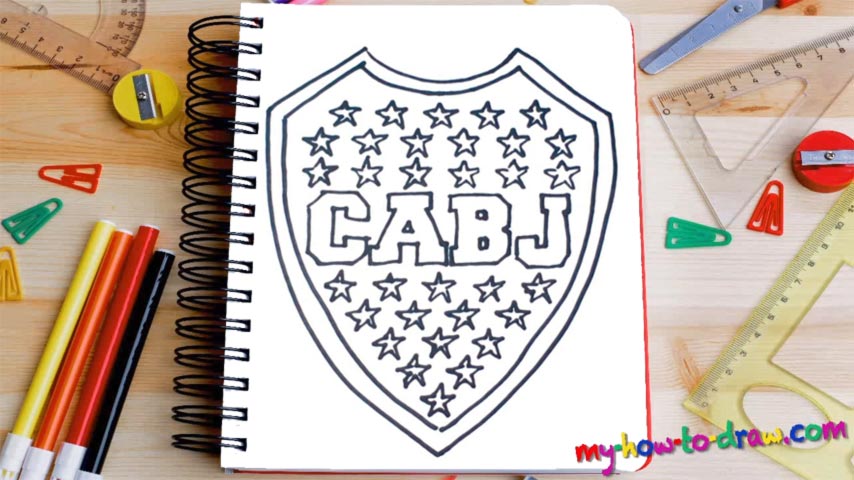
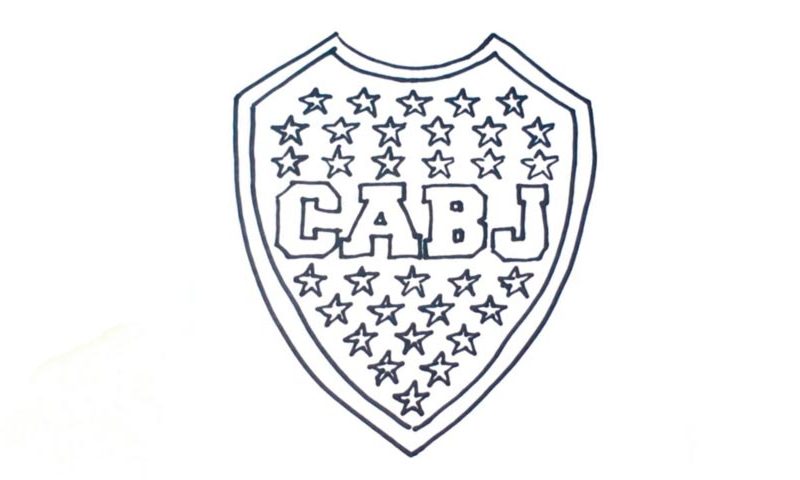
Learn How To Draw A Boca Juniors Shield Logo Quickly
This is a very simple drawing, one that you’ll be able to complete in a couple of minutes without any preparations or years of experience. We begin the how to draw a Boca Juniors Shield Logo tutorial in the upper corner (00 min 08 sec). Our goal is to make sure the lines and curves of the shield are a match to the example in the video guide.
It looks a bit like a policeman’s badge, doesn’t it? It also resembles a body vest that the spec ops teams wear. Once the shape in place, you’ll need to create another one just like it, but only a bit tinier (00 min 25 sec). Put it inside of the original shield. Ok, now it’s time to add the letters (00 min 50 sec). You can tell by the preview that they are pretty standard and sit in the middle of the composition.
After the “CABJ” is done, move on to the final part of this how to draw a Boca Juniors Shield Logo tutorial. Yes, I’m talking about the stars (01 min 50 sec). This is the easiest stage. Go ahead and cover the entire shield with tiny stars and you’ll be done with yet another video lesson on our website!
Before you learn how to draw A Boca Juniors Shield Logo, did you know?
This is one of the strongest and most popular soccer clubs in Argentina. Overall, these guys have as much as 18 international trophies, which puts them right next to “Milan”. As for the national championship, Boca Juniors has a total of 24 championship titles.
Yes, it’s safe to say that this team is huge in Argentina, and the local folks love it for always staying true to itself. If you’re a fan of soccer and love the South-American leagues, we bet Boca Juniors is on your list of favorites. By the way, the FIFA list of the best teams of the 20th century ranked it #12. Not bad, right?

