Learn How To Draw A Rooster Quickly
We’ll use a combination of different curves to complete the head in several steps (00 min 07 sec). The one covering most of the left side and the top comes first. Use a wavy line just like the one you see in the video to shape the double chin and to outline the part where the eye sits (00 min 14 sec). Ok, we’re done with the intro to this how to draw a Rooster tutorial.
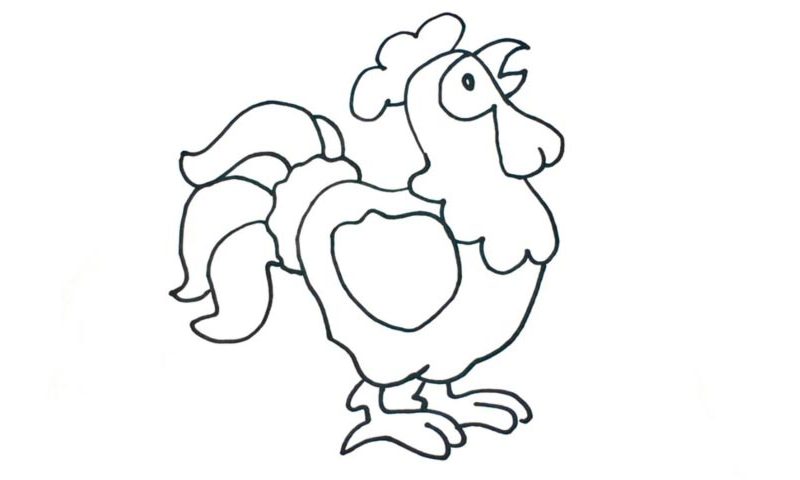
When working on the beak, please remember that the upper half is much thicker and wider than the bottom (00 min 25 sec). The legendary crest slash comb is the next step (00 min 31 sec). Alright, the head is in place. Use a nice wavy line to cover the neck (00 min 41 sec). The body, the tail, and the legs are still waiting for us! These stages of the how to draw a Rooster tutorial are nice and fun.
You’ll need a big shape for the body (00 min 51 sec). The identical legs sit right below it (01 min 06 sec). The part that looks like a body vest comes next (01 min 26 sec). The final step is, of course, the gorgeous tail. It consists of five separate elements: the foundation (a wavy shape) and four “limbs” that look similar to each other.
Before you learn how to draw A Rooster, did you know?
Also known as a cock or the male chicken, this bird is quite famous, thanks to the numerous fairy tales and cartoons from our childhood days. In the US, folks are used to the term “Rooster”; same goes for New Zealand and Australia. So, what’s this creature all about?
Well, it’s a great guardian and is ready to fight any bird/animal that enters the territory where its hens live and nest. During the day, these “soldiers” sit high up to have a good view of the neighborhood. And when they notice a dangerous creature in the vicinity, the roosters sound the trademark alarm.
