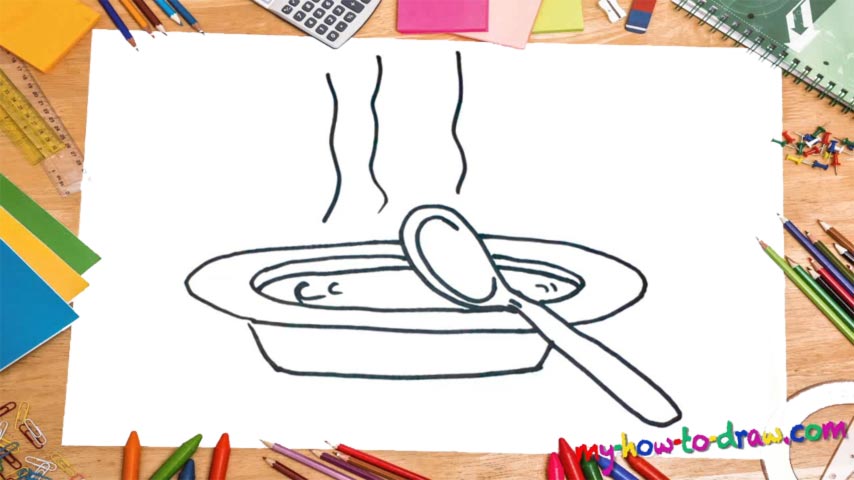
Learn How To Draw A Plate Quickly
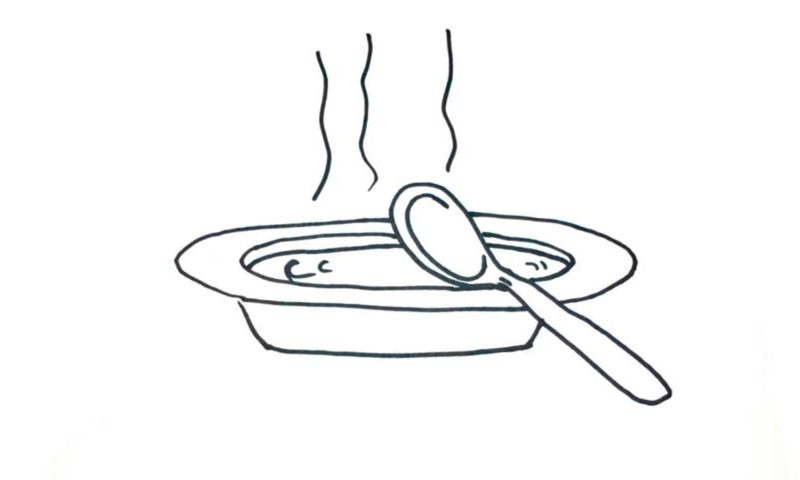
The very bottom of the plate comes first (00 min 08 sec). You’ll need a simple shape for this. Once the foundation is in place, move on to the next step in the how to draw a Plate tutorial. For the top, you’ll need a couple of horizontal oval shapes that sit on top of each other (00 min 16 sec). However, that spoon on the right makes it a bit harder.
As you can see, I decided to put it in and only then go back and finish the plate (00 min 30 sec). It’s pretty huge but won’t be a problem for us. Start in the lower corner and gradually move to the spoon’s “head”. See, that wasn’t so hard, was it? Now that it’s out of the way, let’s go ahead and complete the plate (00 min 50 sec).
As mentioned above, you’ll need additional ovals to complete the shape. It’s the next step in this how to draw a Plate tutorial, and it’s also the easiest one (01 min 00 sec). Those tiny curves are there to imitate the tasty soup (01 min 14 sec). As for the vertical lines standing next to each other, they are the steam going up. Ok, that’s it, dear friends!
Before you learn how to draw A Plate, did you know?
We can’t give you an exact date when it comes to the invention of plates, but it’s safe to say that they’ve been around for many centuries. The Romans used wooden plates, while we’re more used to the modern-day versions that come with different textures.
Our ancestors, the humans that came to this planet first, didn’t have any technological advantages against the animal predators. However, their brains allowed them to conquer the world and jump to the top of the food chain. Fire, houses made of wood and plates + spoons for comfortable eating were among the first inventions of our kind.