Learn How To Draw A Rocket Quickly
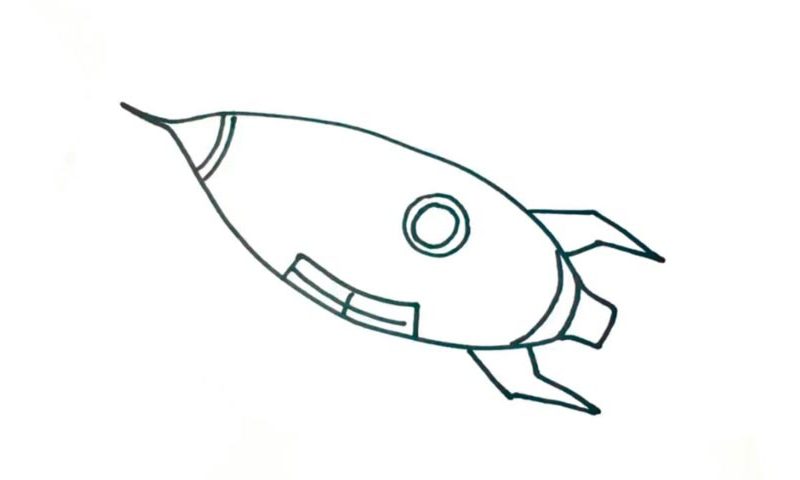
Have you ever seen a swordfish in real life? Well, this rocket looks a lot like it, with the same pointy “nose” and everything. We start in the upper left corner and work on the main part of the how to draw a Rocket tutorial (00 min 07 sec). It is identical on both sides and looks a bit like a lemon or other fruit. The “tail” sits in the lower right corner (00 min 33 sec).
See that “gate” on the left (00 min 44 sec)? That’s actually how the astronauts get into this flying vessel. It is very simple and consists of a number of basic horizontal and vertical lines. Separate the top from the rest with two identical curvy lines (00 min 53 sec). The window is the next step in this how to draw a Rocket tutorial (00 min 54 sec).
The “legs” are the final part (01 min 04 sec). As you could imagine, the rocket usually stands straight before takeoff, and these metallic constructions hold it steady. You’ve got two of those: one on each side. Alright, that concludes our lesson today!
Before you learn how to draw A Rocket, did you know?
This might come as a surprise to you, but the very first implementations of the modern-day rocket technology took place in the 13th century. China was the leader in developing advanced weaponry and used this new achievement to strike its enemies from afar. As for the more peaceful use of the rockets, it wasn’t until the 20th century when science took over.
These days, we use this tech in industrialization, interplanetary travels, and more. The Space Age and the rivalry between the USA and the USSR allowed the scientists from both countries to achieve great things in this field in just 10-20 years. The Soyuz ships are still around; the same can’t be said about the Apollon program, though.
