Learn How To Draw A Present Quickly
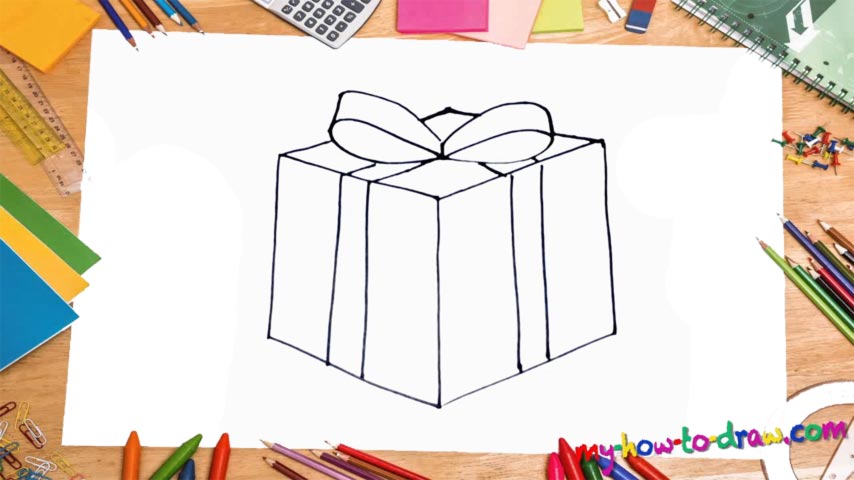
Essentially, we’ve got only one object in this video-guide – a regular box that’s standing right in the middle of the paper. However, it’s in 3D, which means you’ll have to be careful and conscious of all your lines and curves. Let’s begin at the very bottom and use five simple lines to define the “borders” of the box (00 min 09 sec). This is the intro to our how to draw a Present tutorial, its foundation, so to speak.
Next, lock the top of the vertical lines to form an object that looks a lot like an open book (00 min 30 sec). The stripes on both sides follow (00 min 40 sec). It’s not a sophisticated pattern and will require two lines for each dimension. Now, the top is a bit trickier, as we’ll need to put that bow in and still keep the drawing in 3D (01 min 00 sec).
But if you follow the video closely, this stage of the how to draw a Present tutorial will be much easier. For this, we’ll need two identical shapes that are opposite to each other. The rest is simple: just use a series of lines to add the stripes and to complete the picture (01 min 20 sec). Oki-Doki, now we’ve got a properly three-dimensional present on our hands!
Before you learn how to draw A Present, did you know?
We, the human beings, really love to give each other presents to express our love, care, and affection. And while it might be even more fun to receive gifts, there’s something comforting in spending both your money and time on bringing a smile to the recipient’s face.
As for this present box, it’s a classic from back in the day and instantly gives you those Christmas chills. The visual aspect is very important when it comes to handing out gifts, and the bow looks great on top of the big, shiny box. That’s true not only for the kids but also for the grown-ups!

