Learn How To Draw A Raccoon Quickly
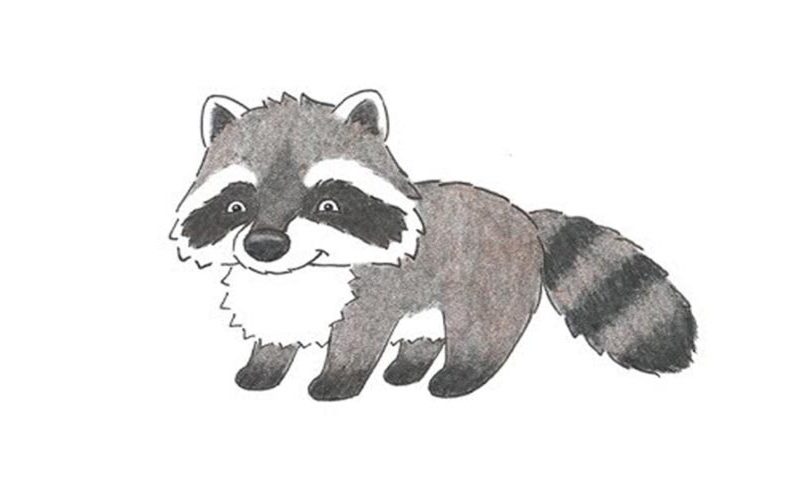
We start this little guy’s drawing with the cute tiny eyes (00 min 10 sec). They should be identical to each other. The big black nose, the next step in this how to draw a Raccoon video guide, sits right below them (01 min 00 sec). You’ll need a C-like curve to cover the mouth and the left side of the nose (01 min 23 sec). The lower half of the head should be fluffy (01 min 55 sec).
The upper half, however, should be pretty straight (02 min 28 sec). The ears look like double triangles (02 min 50 sec). Make them pointy, but not too sharp. The animal looks like a wolf right now, doesn’t it? Don’t forget to mark the spots on the face that we’ll color black later (03 min 18 sec). The fluffy part at the bottom should be white (03 min 48 sec).
The cute (and short) front legs are the next stage of this how to draw A Raccoon tutorial (04 min 12 sec). They’ve got three toes each. Once you’re done with them, use a fluffy curve to cover the back of the animal (04 min 51 sec). The rear legs are just as simple (05 min 05 sec). The huge tail is the final part (05 min 30 sec). Color the raccoon however you want.
Before you learn how to draw A Raccoon, did you know?
These medium-sized brutes can be found in the United States and Canada. With a body weight of 5-26 kilograms and a length of 40-70 centimeters, they are quite big and strong. The underfur they carry around is great for keeping them warm even during the harshest winters. Raccoons are considered to be intelligent creatures with the ability to remember things.
Usually, they live in the woods, far from civilization. However, they are quite adaptive and can also find shelter in the mountains or even in towns/cities populated by the humans. Even though racoons originated in North America, today, they are present in pretty much every corner of the Earth, thanks to the activity of our ancestors (that’s what’s called an “introduced species”).
