Learn How To Draw A Styracosaurus Dinosaur Quickly
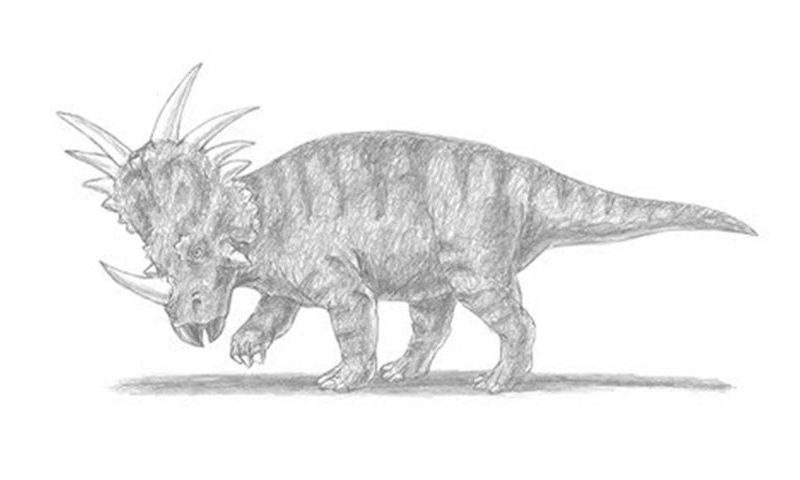
We will need three circles of different size to make this drawing as easy as possible. Start in the left corner with the tiniest one (00 min 18 sec). For the “mug”, use a half-oval (00 min 40 sec). On top of the head, there are four spikes (01 min 02 sec). There’s another one below them, where the nose is (01 min 34 sec).
The second circle is the next step in this how to draw A Styracosaurus Dinosaur tutorial (01 min 46 sec). The third one sits close to it. Don’t forget to mark the legs with four thin lines (02 min 16 sec). The tail completes the light-stroke guides (03 min 06 sec). Get to the dark strokes with the scary eye (03 min 30 sec). The huge spike on the nose and the mouth follow.
Basically, the how to draw A Styracosaurus Dinosaur tutorial is done. All that’s left to do is “fine-tune” the guides. Move to the head and add a series of additional spikes (05 min 55 sec). The big, strong, and identical legs come next (07 min 43 sec). The rest of the body is pretty easy (10 min 37 sec). Use the shading technique to color the beast.
Before you learn how to draw A Styracosaurus Dinosaur, did you know?
This scary dinosaur isn’t to be messed with. In Ancient Greece, they used to call it the spiked lizard, and that’s the best description for it. The Styracosaurus walked the Earth 75 million years ago but is quite popular in modern-day culture. With 4 to 6 horns, this monster could battle even the strongest predators out there, including the T-Rex.
What about its weight? Well, according to the paleontologists, an average male weighs (or, rather, used to weigh) up to 3 tons, reaching 5.5 meters in length. The rhinos are their closest relatives and have similar behavioral patterns.
