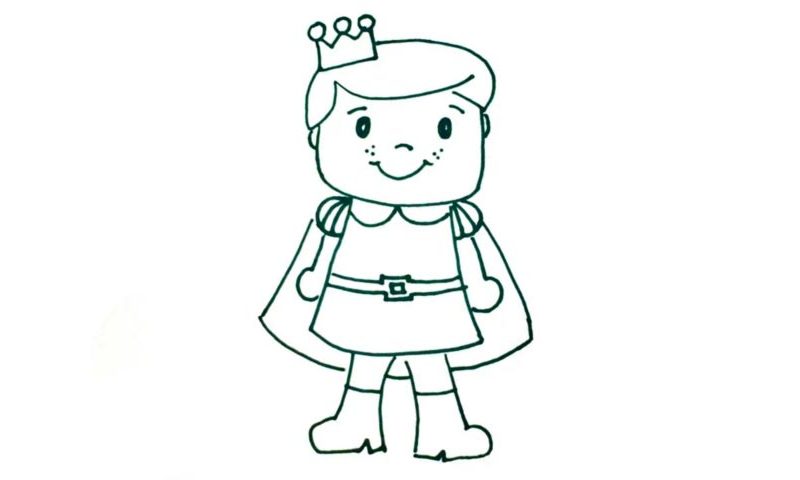
Learn How To Draw A Prince Quickly
The rectangular jaw covers the bottom and both sides of the fella’s head (00 min 07 sec). The “royal” hair sits in the upper corner (00 min 17 sec). And don’t forget about that crown on top (00 min 30 sec). It consists of a simple shape with zigzags and three circles. The facial features are the next steps in this how to draw a Prince tutorial (00 min 43 sec).
The eyes are super-tiny ovals; the brows and the nose look identical to each other. The mouth is a simple curve with “arrows” and freckles on both sides (01 min 05 sec). The fancy shirt follows (01 min 18 sec). The shoulders come with protection; the hands are very primitive and we can’t see the fingers, which makes the job easier.
The belt, the next step in this how to draw a Prince tutorial, sits in the middle of the shirt (01 min 52 sec). The identical legs have classic fairytale boots on. The cape is the final touch (02 min 25 sec). Make sure it covers most of the back and looks proportional.
Before you learn how to draw A Prince, did you know?
In our minds, a prince is a hero, a young man with a valiant heart, a mighty sword, and a noble cause. And while that’s exactly how they look in the fairytales and TV shows, in reality, that’s not always the case. History knows one too many princes with, let’s say, low moral responsibilities. They didn’t care about the kingdoms and wasted their time on rubbish.
The young fella in my example is not even a man yet. He’s got some growing up to do, and only then will we be able to judge his actions. As you might already know, in the ancient times, the king’s son always had a whole “escort” of people that taught him politics, eloquence, mathematics, the art of war, and many other things, preparing the boy to become the new leader of his nation.
