Learn How To Draw A Kiwi Quickly
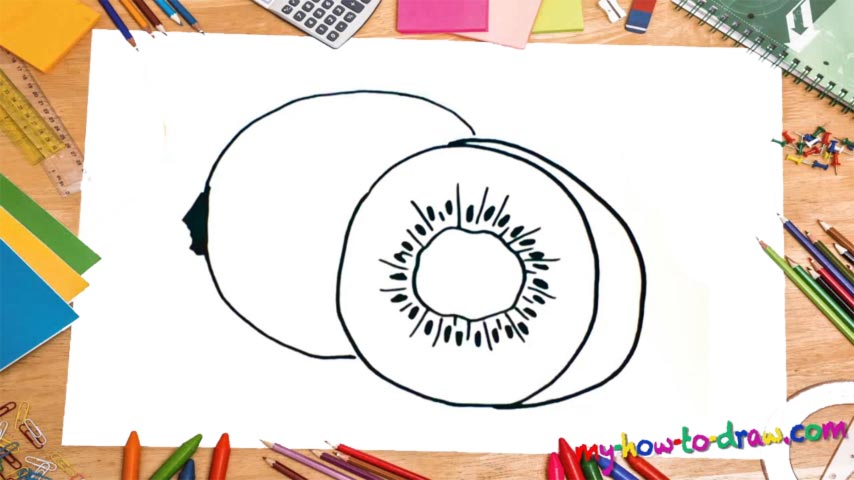
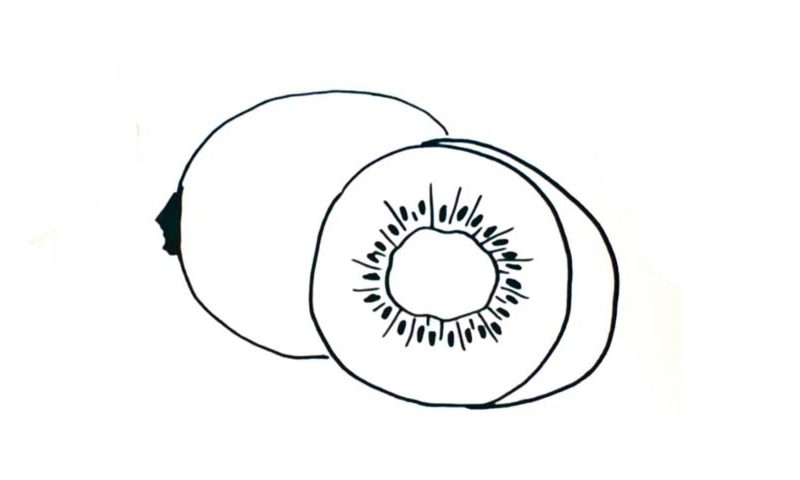
We have two kiwis in this video. The one on the right is already sliced, while the one on the left is still untouched. We’ll start this how to draw a Kiwi tutorial with the fruit on the right (00 min 06 sec). To cover the front, create a big circle in the middle of the composition. To make everything look three-dimensional, add a nice curve on the side like I did.
The texture of this otherworldly fruit comes next (00 min 22 sec). There’s a “wavy oval” hidden inside the original circle and it covers the center. What you should do next is add a series of simple lines (00 min 33 sec). Watch the video closely and make sure to introduce tiny differences to make them all look realistic. The black dots follow (00 min 55 sec).
The last part of this how to draw a Kiwi tutorial is the fruit on the left (01 min 26 sec). The two overlap each other heavily. All you’ll need for this stage is a half-circle for the main body. And don’t forget about the “tail” in the far left corner (01 min 32 sec).
Before you learn how to draw A Kiwi, did you know?
This is quite an exotic fruit, or, at least, it used to be back in the day when transportation by air wasn’t possible, and sea vessels were too expensive. For a regular modern-day family, Kiwi is just another product on the market. AKA the Chinese gooseberry, this fruit comes with an exquisite taste that will stick with you long after you finish the meal.
The most popular species is the one that you see in your local supermarkets. It’s pretty tiny and can easily fit in a grown man’s hand. The seeds are all black and give the fruit a unique taste. The flavor might not be very exciting at first, but if you give it some time, the kiwi might just grow on you. Just be careful when slicing it up and don’t mess up your fingers!