Learn How To Draw A Race Car Quickly
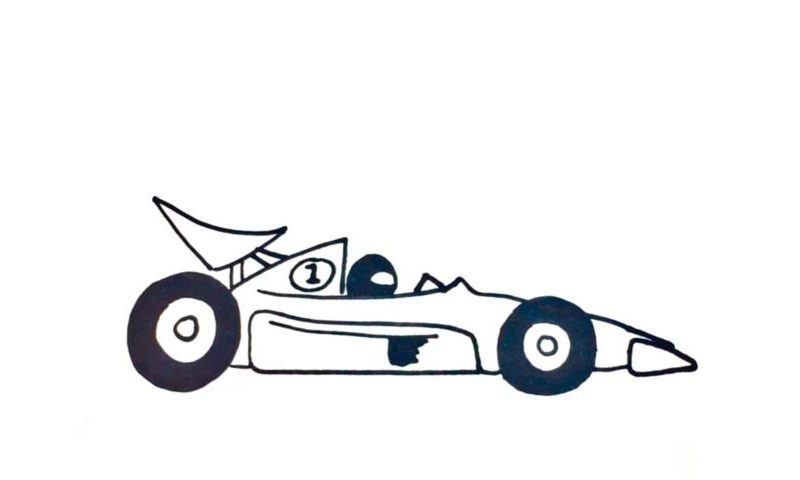
The left wheel comes first (00 min 07 sec). You’ll need 3 circles of different sizes for it. Once they’re all in place, color the outer part black (00 min 20 sec). The cockpit is the next step in this how to draw a Race Car tutorial (01 min 01 sec). I recommend completing the upper half of the drawing first before moving to the bottom.
The “triangle” in the right corner is the tip of the vehicle (01 min 27 sec). The second wheel sits next to it (01 min 36 sec). And yes, it’s basically the same as the one in the left corner. However, it’s significantly smaller. Color it black as well and let’s move on to the next stage of this how to draw a Race Car tutorial – the lower half.
It’s probably the easiest part. The side skirt covers almost the entire space (02 min 14 sec). But we’re not done with this lesson yet. The wheel and the pilot’s helmet follow (02 min 43 sec). The fancy spoiler that looks like a tilted triangle and the “1” on the cockpit complete the video guide (03 min 06 sec).
Before you learn how to draw A Race Car, did you know?
Racing is all about feeling the air in your face and rushing towards the finish line. If you don’t have that attitude of a winner, you’ll probably never become one of the greatest. A racer’s heart always beats fast while on the track but he/she always has control over everything else. Thanks to some popular movie franchise like The Fast And Furious, racing is still cool.
Come on, who doesn’t like jaw-droppingly gorgeous cars with 1000+ horses under the hood and fearless drivers behind the wheel? And while street racing is illegal in almost every country around the world, NASCAR and F1 are legit. Fun fact: almost as soon as the very first car proved its worth on the road, folks started to organize all kinds of competitions, with the earliest ones dating back to 1867!
