Learn How To Draw A Planet Quickly
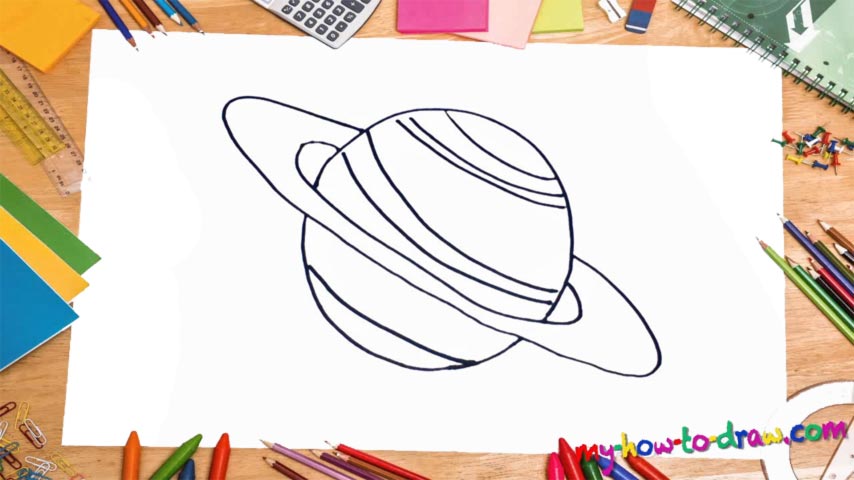
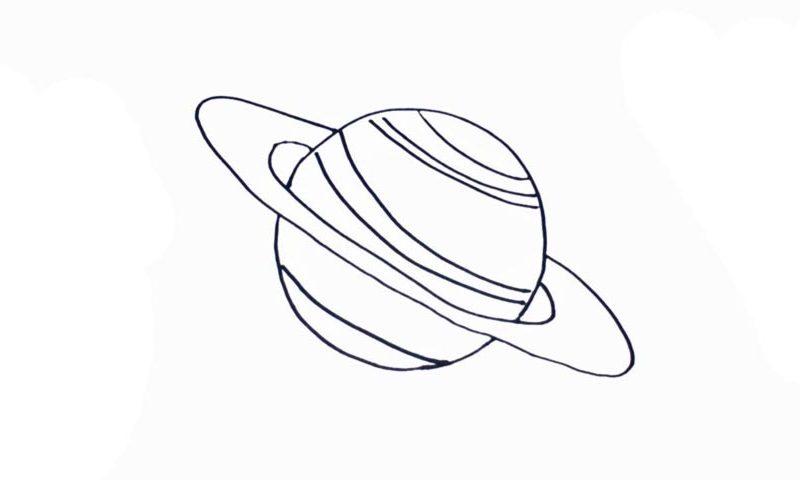
Now, you might think that since it’s a space object that we’re dealing with, we’ll start by adding a round circle for the planet’s body first. But that’s not really the case here, as the ring needs to be taken into consideration. With that said, create a half-circle that looks like a reversed “C” (00 min 08 sec). Next, get to the ring (00 min 18 sec). It’s actually the easiest step in this how to draw a Planet tutorial.
But make sure the proportions are right; otherwise, you’ll end up with something that looks like a toy rather than a huge cosmic body. And once it’s done, we can move on and finish the lower part of the planet that’s surrounded by that mass of stones, asteroids, cosmic dust, etc (00 min 40 sec). Looks like the real thing now, doesn’t it? That’s because we’re actually done with this how to draw a Planet tutorial.
But I’d highly recommend sticking around for the “stripes”. We’ve got three in total and they make the planet look even more realistic. Some people think that the rings are a very rare phenomenon in the galaxy: they’re actually wrong. We can only see a tiny part of the Universe; yet, we can already tell that “ringed” planets are a very common thing.
Before you learn how to draw A Planet, did you know?
Thanks to the undeniable facts brought to us by the scientists (the astrologists, to be precise), we know that Earth is not the only planet out there. In fact, there are millions, if not billions of other cosmic bodies in outer space, and, compared to the giants, our world is quite tiny.
In this particular tutorial, we’ll work on a planet that looks a lot like Saturn or any other member of the Milky Way that comes with a huge ring around it. Isn’t it exciting to draw something like that and imagine what our lives would be like in the future when intergalactic travels become a reality?