Learn How To Draw A Polar Bear Quickly
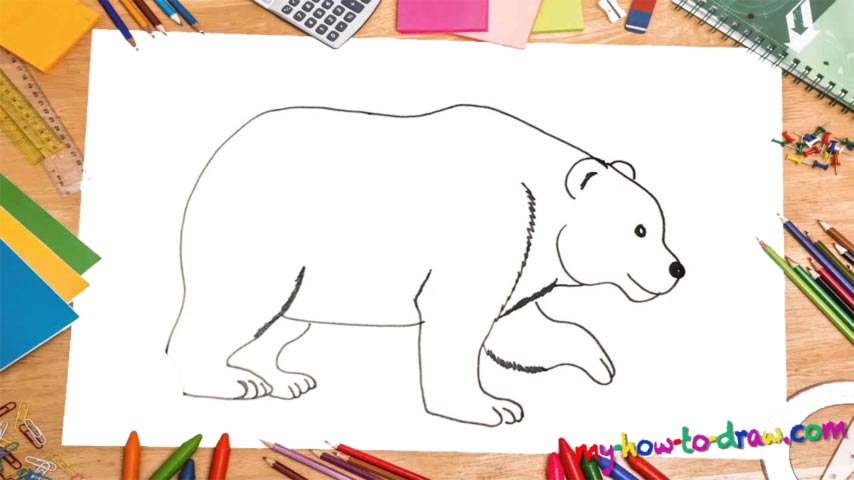
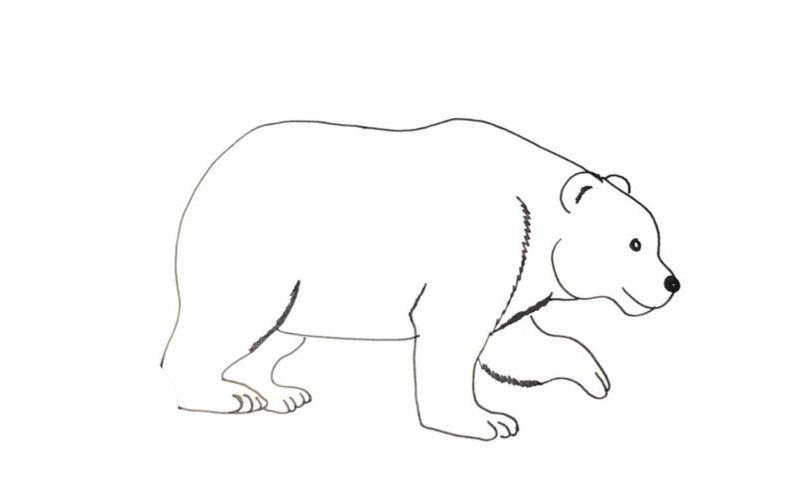
The bear’s head is the most important part, so, let’s start there (00 min 04 sec). See the line that separates it from the body? Put it in first and make your way to the right. The mouth is just a simple line. The eye is a tiny circle (00 min 15 sec). The head will look like a dolphin at this stage of the how to draw a Polar Bear tutorial, and that’s totally normal.
The nose is another tiny black circle (00 min 20 sec). For the ears, use two simple curves, nothing else. If you’re happy with the result so far, move on to the animal’s body (00 min 34 sec). You’ll need a super-long horizontal line to cover the bear’s back. A vertical curve will help you put the rear leg where it belongs (00 min 41 sec).
It comes with three fingers. Same goes for the front left leg. The front right leg is up in the air – make sure you get the posture right (01 min 37 sec). After you add the rear right leg, you’ll be done with this how to draw a Polar Bear tutorial (02 min 05 sec).
Before you learn how to draw A Polar Bear, did you know?
Let’s face it: life is hard for the polar bears. They are forced to struggle with the cold, the lack of proper food, and other predators trying to put their hands on the local fish and seals. The Arctic Circle is where they live and can be as heavy as 700 kilograms. The females, however, are usually half the size. The polar bears look a lot like the brown bears.
At the same time, over the years, their bodies have changed to better handle the cold, the snow, the ice, and the freezing water. Climate change is making things even more difficult for these animals. The ice is melting, making it impossible for the polar bears to hunt. Back in the day, human hunters used to hurt their numbers; today, thanks to quotas, that’s not a problem anymore.