Learn How To Draw A Giraffe Quickly
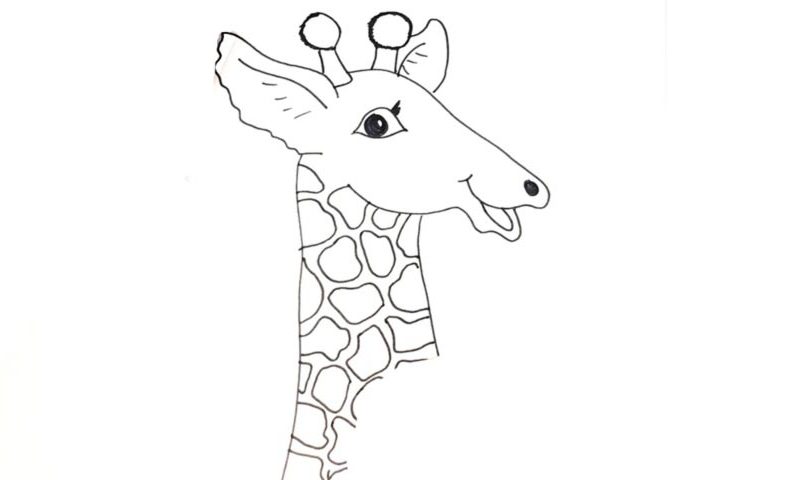
Start in the upper corner with the beautiful long face (00 min 04 sec). It might look a bit like a fish to you at first. Once both jaws are in place, go ahead and add the mouth (00 min 17 sec). The nose, the next step in this how to draw a Giraffe tutorial, is just a single black circle (00 min 27 sec). The eye makes it look human, doesn’t it?
If you’re happy with it, move on to the “antennas” on top of the animal’s head (00 min 55 sec). There are two in total, and both come with cute “balloons.” The ears are located on both sides of the antennas and resemble autumn leaves (01 min 33 sec). Be delicate with the lines and make sure you get the tiny zigzags right.
Alright, the hardest part of the how to draw a Giraffe tutorial is done. All that’s left to do now is work on the neck (01 min 54 sec). Use two similar vertical lines for it. The fascinating pattern that sets giraffes apart from most animals completes this lesson (02 min 02 sec).
Before you learn how to draw A Giraffe, did you know?
One planet is full of incredible creatures, and the giraffes are definitely one of the most amazing animals to walk the Earth. With a max speed of 60 kilometers per hour and a daily sleep time of less than 5 hours, they are pretty strong and agile, despite what some folks might think. The males can be as tall as 6 meters; the females reach 4, 6 in height.
The males are also heavier: 1200 kilograms vs. 800 kilograms for the ladies. These even-toed mammals are very popular among the fans of zoos. Get this: there’s only one species of giraffes living in the world today, but back in the day, there used to be eight. Overall, there are approximately 100000 giraffes out there in the wild, give or take.
