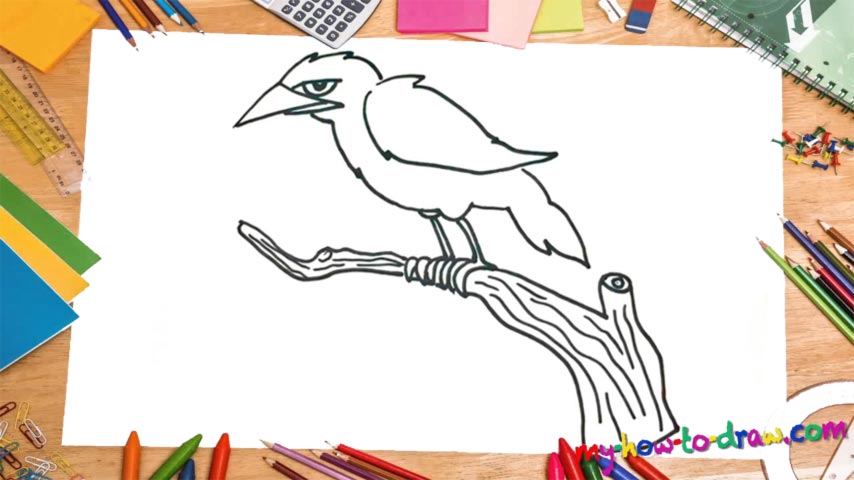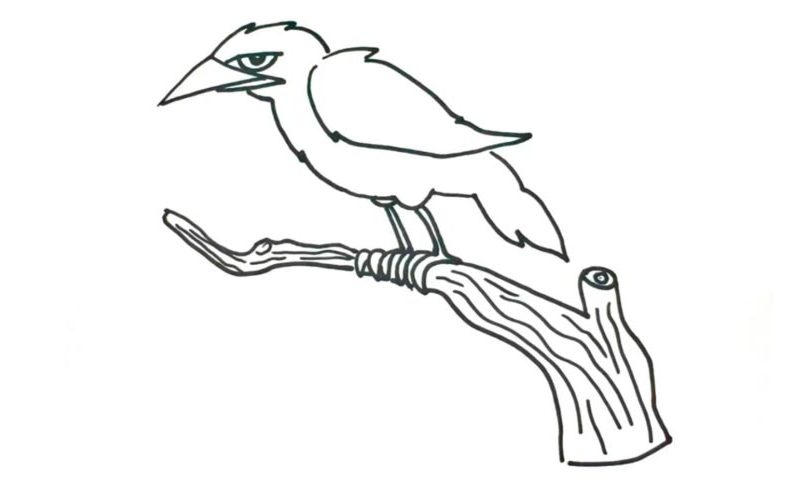
Learn How To Draw A Crow Quickly
Can you see that super-edgy beak that looks like a dagger (00 min 07 sec)? Let’s get it out of the way before we move on to the next parts of this how to draw a Crow tutorial. You’ll need one triangle and one tiny curve at the bottom of it. To cover the top and the bottom of the head, use wavy lines to accentuate the “fluffiness” of the bird’s fir (00 min 16 sec).
The all-seeing eye sits right in the middle (00 min 28 sec). The right wing is one of the most important steps in this video (00 min 40 sec). Don’t go for a super-smooth shape, but rather something rough and “rusty”. Same goes for the tail that’s located directly below the wing (00 min 55 sec). Once it’s in place, create a simple line to complete the body.
Alright, now we’re down to the final parts of this how to draw a Crow tutorial. The legs should be super skinny (01 min 07 sec). It’s got three claws on each. The log that it’s holding on to is the final thing to take care of today (01 min 30 sec). It’s thin on the left side but becomes bigger and stronger as you move to the right.
Before you learn how to draw A Crow, did you know?
Despite the popular belief, these birds aren’t harbingers of death and they don’t serve the evil witches. It’s just that the fairy tales and scary stories from our childhood described them as servants of the dark side. In reality, they are quite normal and mind their own business.
The biologists are calling the crows one of the most intelligent living creatures on the planet, even though that wasn’t the case a couple of decades ago. They are capable of creating all kinds of tools for their needs, which requires a mighty brain. The Corvus species are usually colored black; sometimes, there are some white/grey spots all over the body.