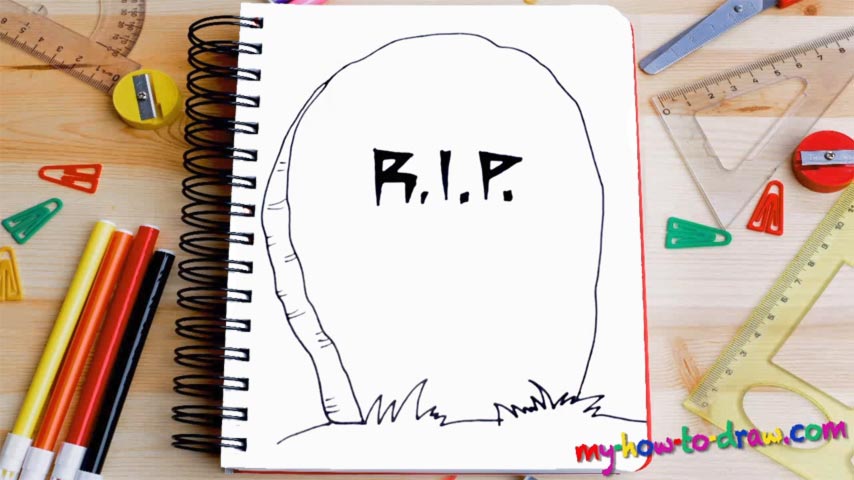
Learn How To Draw A Headstone Quickly
Without any introductions, let’s just get right to it and work on the main body of the headstone (00 min 07 sec). Start in the bottom right corner and create a huge shape that looks a bit like a human skull. Don’t try to make it smooth and round – go for something more “naturalistic”. Remember: this is a stone we’re dealing with, and the shape should be matching.
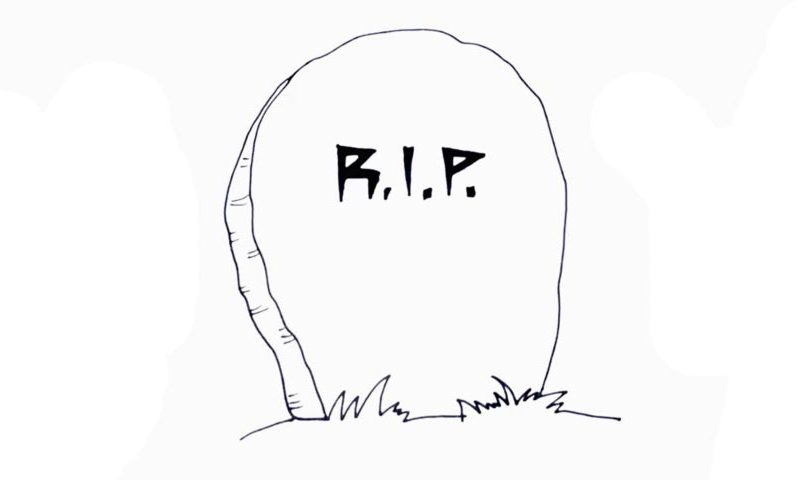
Once you’re done with the first step in this how to draw a Headstone tutorial, use a simple curve to outline the back of it (00 min 18 sec). That way, you’ll make the drawing look three-dimensional, which is our main goal in this video lesson. Are you wondering why the bottom of the headstone is so “zigzaggy”? Well, that’s because it’s covered in grass (00 min 23 sec). There’s no point in trying to follow my every step at this stage.
But still, it would be a good idea to match your lines with mine. See those tiny lines on the side (00 min 36 sec)? That’s the next step in this how to draw a Headstone tutorial. They will make everything look more realistic. The “R.I.P.” is the final thing to take care of (00 min 47 sec). As you can see, I’ve used a creative approach and the letters are a bit “fancy”.
Before you learn how to draw A Headstone, did you know?
There’s nothing fun about this: that “Rest In Peace” written on the stone means that someone has passed away, and we’ll never get a chance to talk to them ever again. The headstones have been around for many centuries; humanity uses them to honor the deceased.
We don’t live forever – that’s the undeniable truth of life on Earth. As for the drawing itself, you’ll find that it’s very basic and won’t require any top-notch skills. The strong message is what turns this composition into a must-have in your collection. Practice for as long as you need to and make sure to bring this home.