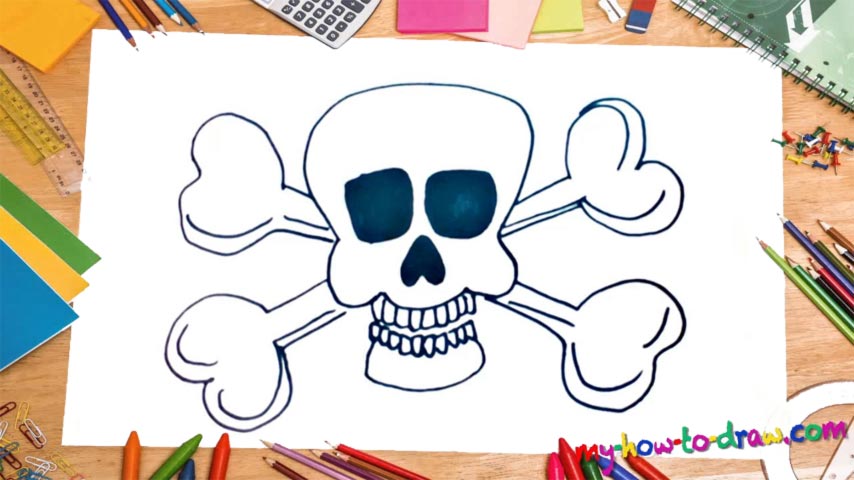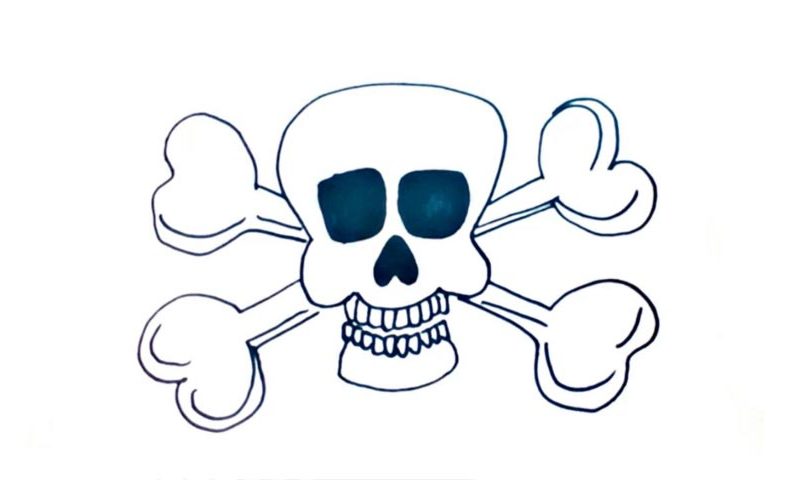
Learn How To Draw A Pirate Skull Quickly
Looks pretty scary, doesn’t it? Don’t worry: once you complete this drawing, those bones will become your new best friends! Let’s start the how to draw a Pirate Skull tutorial by outlining the head (00 min 07 sec). It’s identical on both sides, but because of the angle, the left side looks a bit bigger than it actually is.
If the upper half is done, get to the sharp teeth (00 min 25 sec). As you can see, the ones at the top are bigger than the ones at the bottom. Don’t forget to place the lower jaw directly below the tiny teeth (00 min 57 sec). The nose that looks like an arrow is the next step in this how to draw a Pirate Skull tutorial (01 min 02 sec). Color it black.
The eyes are identical to each other and should also be colored black (01 min 16 sec). Alright, it’s time to add the bones (02 min 10 sec). Basically, they’re the same. But slight differences are more than welcome. Start in the upper right corner and make your way to the left. They all look like house keys.
Before you learn how to draw A Pirate Skull, did you know?
If you’re a fan of the good old pirate movies, then you know what this image means. It’s the symbol of the “wild and free” folks, men and women who didn’t care about the law and were ready to fight entire governments. The fairytales describe the pirates as people with honor, faith, and other great qualities, turning their lives into awesome adventures.
However, that’s not really the truth, as they used to kill people and steal whatever they could from the least fortunate ones. That is exactly why the flag with the skull and the bones is banned in many countries. Even in the modern-day world, there are still some pirates left, and they disturb the peace of the innocents in Africa and Asia.