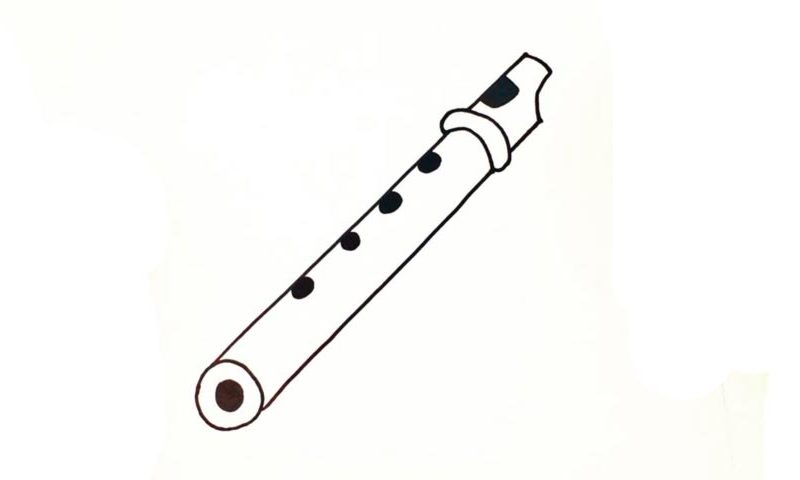
Learn How To Draw A Flute Quickly
Begin in the bottom left corner with a straight line (00 min 05 sec). Once it’s in place, add another one just like it to the right (00 min 10 sec). The next step of this how to draw a Flute tutorial includes two circles on top of each other to cover the lower corner (00 min 17 sec). That’s where the sound is coming out and creating beautiful music for the ears.
Color the inner circle black and let’s jump to the top (00 min 34 sec). You’ll need two identical lines to create the “chocker”. The upper half is simple but needs a curve along with multiple straight lines. This is where the player blows the air to produce different notes. See that black spot on the left (00 min 54 sec)?
It’s the next step in this how to draw a Flute tutorial. If you’re happy with everything so far, then it’s time to finish this lesson. For that, we will need four similar-looking circles sitting next to each other on the main “shaft” (01 min 05 sec). Color them black and that’s it!
Before you learn how to draw A Flute, did you know?
As the most ancient and esteemed groups of musical instruments, the flute has a strong influence on modern-day music, even if it’s not that obvious to the regular audience. According to the historians and the scientists, flutes have been around since the dawn of our kind. Recent findings in Germany prove that our ancestors from 35-44 thousand years ago knew how to build them and enjoyed the majestic sounds.
Yep, we’re talking about a legacy that is simply unmatched. Humanity fell in love with music long before we had musical notes, clefs, and/or computers to help us write songs. The idea behind the flute is simple: it’s just a long wooden construction with multiple holes that make different sounds – notes. In orchestral music, it has a prominent place and even gets solo parts.

