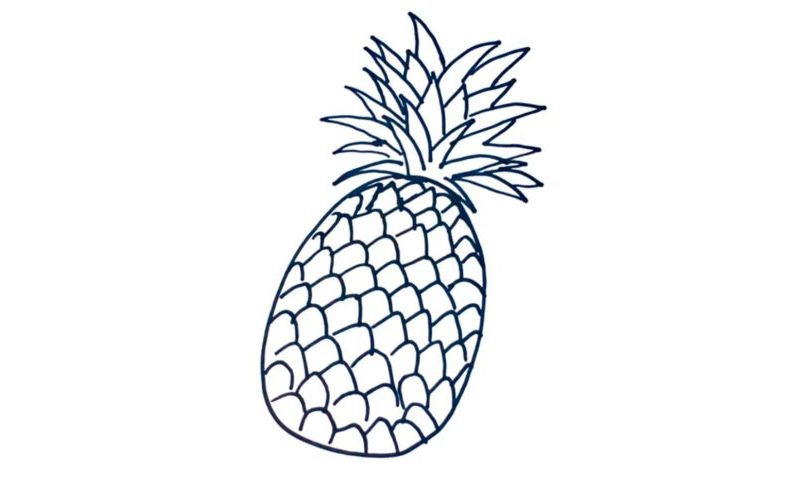
Learn How To Draw A Pineapple Quickly
We begin by creating the main body of our fruit (00 min 05 sec). For that, we’ll need a nice and long oval shape in the bottom of the paper. Looks a bit like a dinosaur egg, doesn’t it? Make sure you leave a tiny spot at the top so that we can add the “tail” there. It’s actually the next step in this how to draw a Pineapple tutorial. You could say that it resembles a bush.
Others claim it’s like a tree. In any case, for the upper half of the drawing to work, we’ll use a series of similar lines and curves on top of each other. The “crown” consists of sharp and pointy shapes that are super simple (00 min 20 sec). It would be wise to conquer this stage of the how to draw a Pineapple tutorial in several steps.
What I mean is you should complete the first “level” before moving on to the next. If you’re happy with the result so far, go back to the oval and let’s work on the texture. It looks like a scale (01 min 20 sec). Again, for this part to look smooth, create a number of similar shapes sitting on top of each other; nothing hard about that.
Before you learn how to draw A Pineapple, did you know?
You could call pineapples the unofficial symbols of the gorgeous tropical islands around the world. Fresh, juicy, and with a unique taste, they are considered to be the food of Gods. Traditionally, the North/Central American countries are the biggest producers of pineapples. Say, the Philippines, Brazil, and, of course, Costa Rica provide 1/3rd of the total production!
In some countries, pineapples are cooked. However, in the European region, folks are more used to eating them raw. Over the years, this fruit has found its way into many cuisines and is respected for that amazing flavor. No meal will be the same after you add just a couple of drops of that pineapple juice. Plus, the fruit looks astonishing and can serve as decoration.

