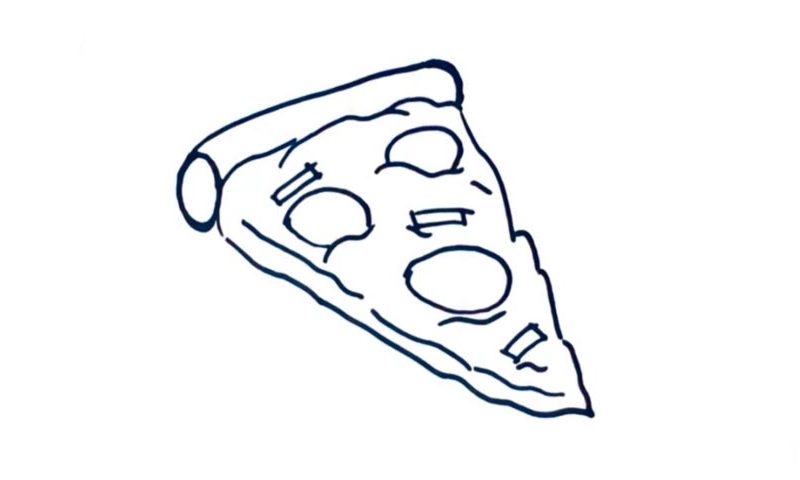
Learn How To Draw Pizza Quickly
The one thing to remember during this lesson is that pizza usually never comes with super-straight lines. What I mean is that the sides will always be zigzag-like. Begin this how to draw Pizza tutorial on the right side (00 min 06 sec). The left one follows. As I just said, they both need to be with cuts and deeps to look more realistic.
Cover the top with a similar curve (00 min 22 sec). Now, there’s no pizza without that classic “roll” in the upper corner. For it, you’ll need a tiny oval in the left, a straight line, and a curve in the right. Ok, our lovely dish is in place. The only thing left to do is add the ingredients on top. That’s the last step in this how to draw Pizza tutorial, dear friends.
Start with the tiny rectangles all over the place (00 min 45 sec). The circles are the final stage (00 min 54 sec). They shouldn’t be perfect. Follow my guide in the video and make sure you get all the tiny imperfections. Without them, your pizza will look “lifeless”.
Before you learn how to draw Pizza, did you know?
Doesn’t that slice look totally delicious? There are many different types of pizza out there, with numerous ingredients to satisfy the taste of even the most demanding folks. However, the “foundation” of it is always the same. That’s right: nothing has really changed over the years, and even though the chefs keep experimenting, the initial formula is simply flawless.
This traditional Italian dish has been around since the 10th century. The main ingredients include a yeasted flatbread, cheese, and, of course, tomatoes (and/or tomato juice). Today, it’s one of the most common and favored dishes around the world. And while most cooks recommend eating it while it’s hot, a lot of people prefer it when it’s nice and cold.

