Learn How To Draw A Helicopter Quickly
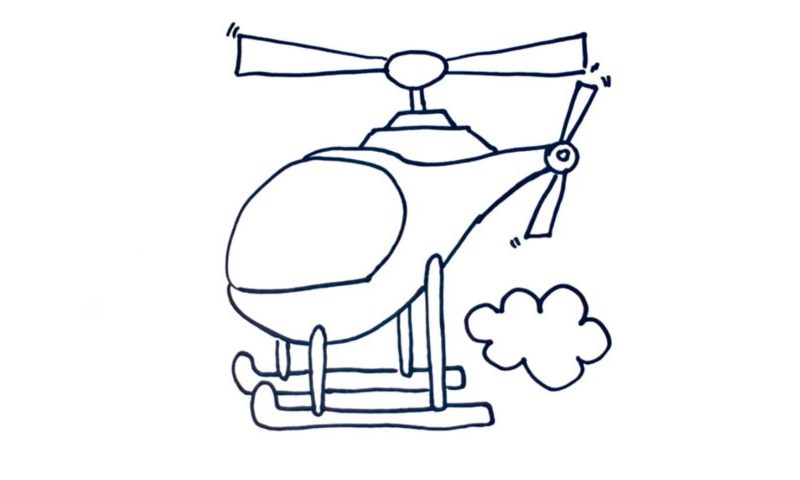
I recommend beginning this how to draw a Helicopter lesson with the large window that covers the front and the sides (00 min 06 sec). It looks like a helmet. As for the chopper’s body, it should be nice and smooth. The window takes most of the space, and the lines that shape the body resemble a monster’s hand (like it’s holding the “helmet”) (00 min 18 sec).
The propeller in the back consists of two tiny circles and two blades in a vertical shape (00 min 38 sec). If you noticed, I deliberately left a couple of “holes” in the helo’s body. That’s because we need the foundation to fill out those spots (00 min 52 sec). The “sled”, the next step of the how to draw a Helicopter tutorial, is simple.
We’ve got two identical shapes on both sides. The propeller on top is much bigger. But it’s actually the same as the one on the tail (in the back). The only difference is the huge circle in the middle (01 min 30 sec). That cloud in the lower right corner is the final touch (01 min 57 sec).
Before you learn how to draw A Helicopter, did you know?
We can’t imagine our lives without these flying vessels today. In far-away communities around the world, they are sometimes the only means of transportation. They carry water, food, materials, and, of course, humans. Helicopters serve an important purpose during natural disasters and save precious lives. In the military, they are great tactical tools.
The very first operational copter was introduced to the world in 1936. As for full-scale production, Mr. Igor Sikorsky was the first man to make that happen in 1942. During the Vietnam War, choppers proved their efficiency and became one of the most popular “machines” in the United States Army. To this day, they are still quite useful.
