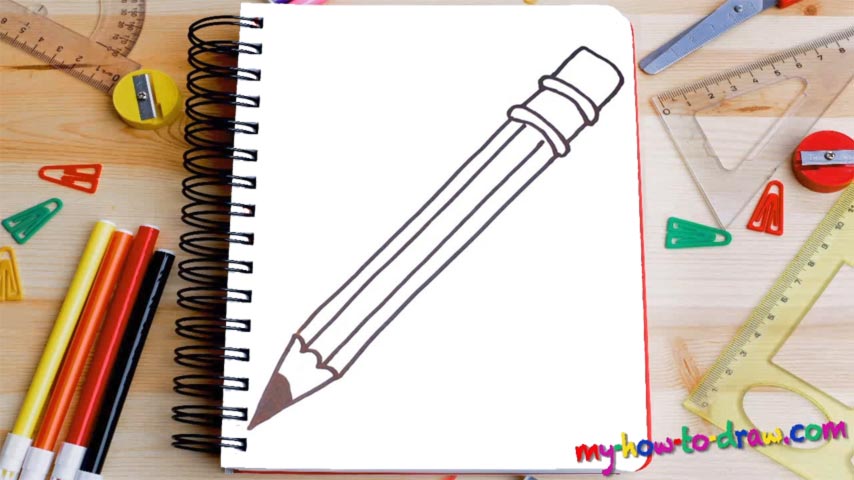
Learn How To Draw A Pencil Quickly
This is a very basic drawing, meant to improve your skills and help you have a great time with us. There are many how to draw a Pencil tutorials out there, but once we master this one, the rest will be a piece of cake. Start by adding two parallel lines in the lower corner of the paper (00 min 08 sec). Once they’re in place, connect them to each other using a “wavy” curve (00 min 21 sec).
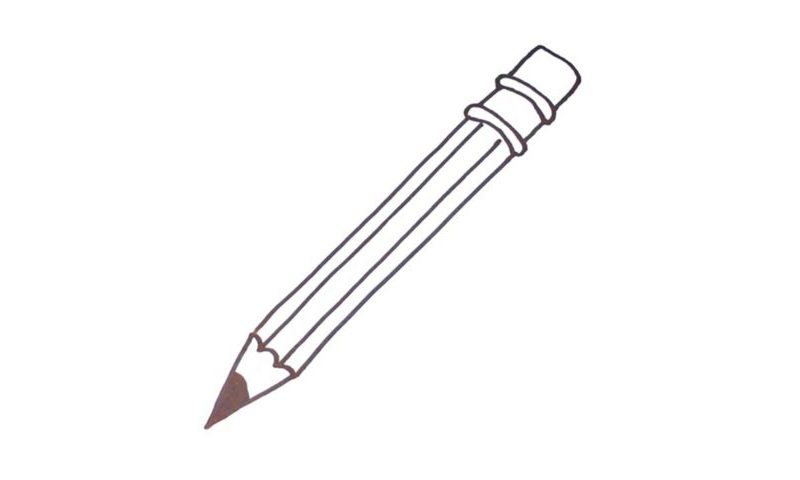
The graphite tip comes next. It looks like a tiny triangle – nothing hard about that. Cut it in half with a simple line and color the lower part black (00 min 30 sec). Now jump back to the top and let’s add the upper half of the pencil. It’s pretty standard and comes with the most designs. We’ve got two “separating lines” in this part of the how to draw a Pencil tutorial.
Obviously, they were put on the shaft intentionally, and the purpose is to help the artist hold it steady and put the lines correctly. After you’re done with them, create two parallel lines in the middle, just like you did in the very beginning of our video guide (01 min 01 sec). Looks good, doesn’t it? Of course, it does – we just completed the drawing!
Before you learn how to draw A Pencil, did you know?
They say that a true artist can create something extraordinary with whatever he’s got at the moment, be it a pen, a piece of charcoal, or even dirt. But pencils are much more comfortable and allow us to be extremely accurate about our lines and curves.
Today, you can get a bunch of pencils for almost nothing. However, back when they were first invented, humanity considered them to be a miracle. The very first and the largest graphite deposit were discovered in ~1500, and that’s when mass production started.