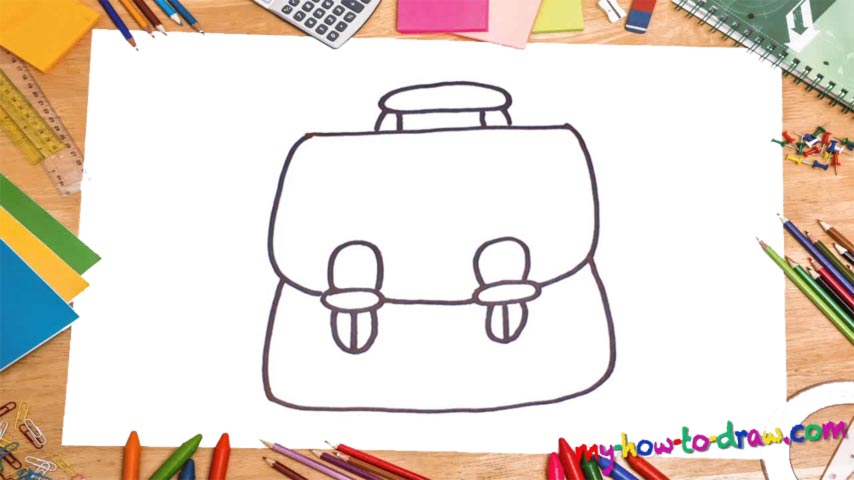
Learn How To Draw A School Bag Quickly
You could say that the bag in this video is a bit outdated, and kids don’t really use that design anymore. True, it is a bit old school, but hey, retro is in high demand these days! Start by creating a long horizontal line in the top corner of the paper (00 min 11 sec). It will be the intro to our how to draw a School Bag tutorial.
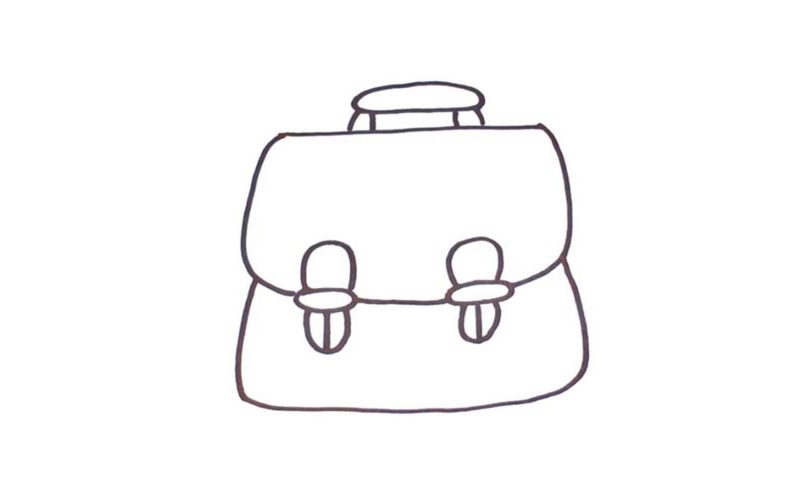
Next, use two similar yet opposite vertical curves to form the upper half of the bag (00 min 16 sec). The vintage locks follow. They’re pretty huge and might not look like the real thing right now. But after you complete the lower half of this drawing, everything will fall into place. Every lock consists of three parts, three simple shapes.
After you’re done with them, move on to the next step in this how to draw a School Bag tutorial – the main part of it (00 min 55 sec). For this, you’ll need a curve similar to the one on top, but it’s a bit narrower and covers less space. Finally, go back and draw the handle (01 min 03 sec). It looks a bit like a big stone sitting on top of two smaller ones.
Before you learn how to draw A School Bag, did you know?
Nothing special here: we need our bags to carry all those books, copybooks, pencils, and other stuff to school. Back in the day, there was a strong policy, a dress code, and it required all kids to stick to the same boring stuff. Thankfully, these days, that’s not the case anymore.
And while the fellas like to cover their bags in all kinds of “manly” stuff, like comic book characters, or their favorite music bands, the girls prefer cute puppies and fancy fashion designs. Yes, you could say that these bags represent who we are and show the rest of the world what we love and care about.