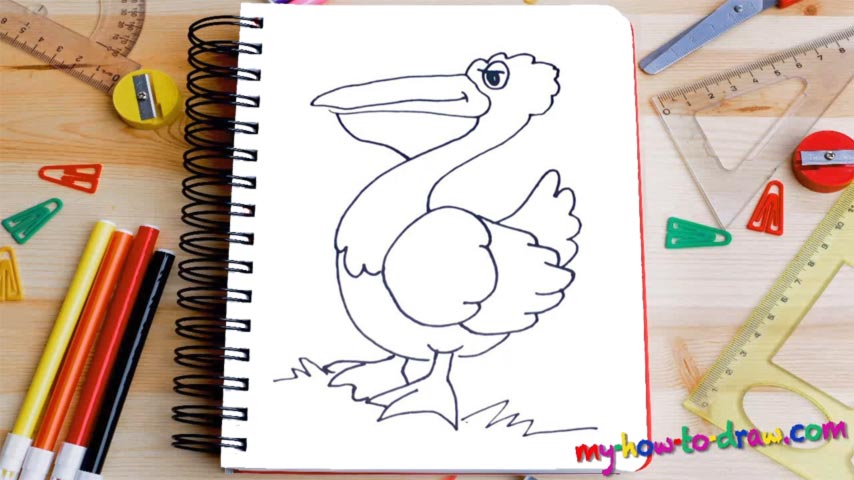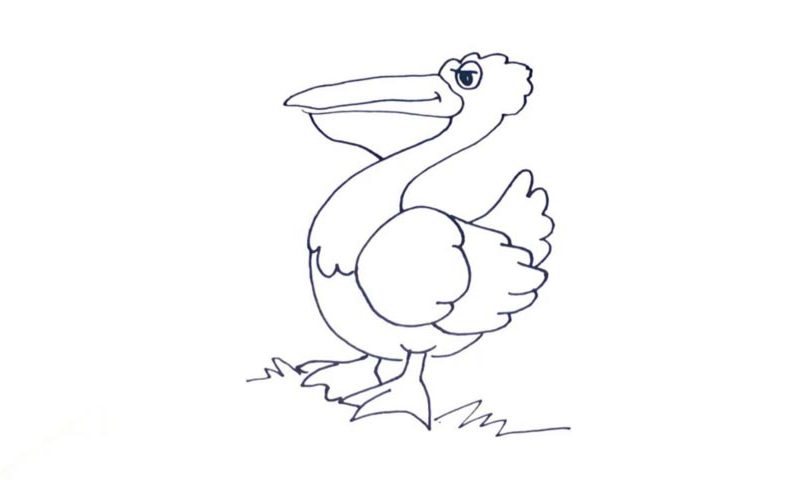
Learn How To Draw A Pelican Quickly
The mighty beak comes first in this video (00 min 08 sec). It’s divided into two bits and looks like a part of a dinosaur’s skeleton. Once you’re done with the intro to this how to draw a Pelican tutorial, go ahead and add the pouch that’s located right below it (00 min 20 sec). You’ll need two curves for that, and the one that begins in the right corner forms the animal’s neck.
It’s pretty long and wavy at the bottom. Same goes for the line above the beak that forms the head (00 min 32 sec). It gradually turns into the right side of the neck. The huge eye sits close to the beak (00 min 40 sec). You’ll need two simple circles and one horizontal line between them for this. The huge wing starts exactly where the neck ends (00 min 53 sec).
Make the lines straight to the left but fluffier to the right. This step of the how to draw a Pelican consists of two parts. Make sure you get them both right. The tail hides behind the wing (01 min 12 sec). The identical legs are the final stage (01 min 25 sec). They should sit really close to each other.
Before you learn how to draw A Pelican, did you know?
These water birds sure do look majestic, to say the least. They’re pretty big and are considered to be one of the most intelligent creatures on the planet. The Pelicans comes with a super-long beak and that trademark pouch that allows them to catch their prey.
There are 8 living species of Pelicans in the world right now, and they’re scattered all over the place. Thanks to the archeological findings, we can say with certainty that these creatures have been around for about 30 million years. Originally, they evolved in the so-called Old World and only then moved to the American continent.