Learn How To Draw A Gerbil Quickly
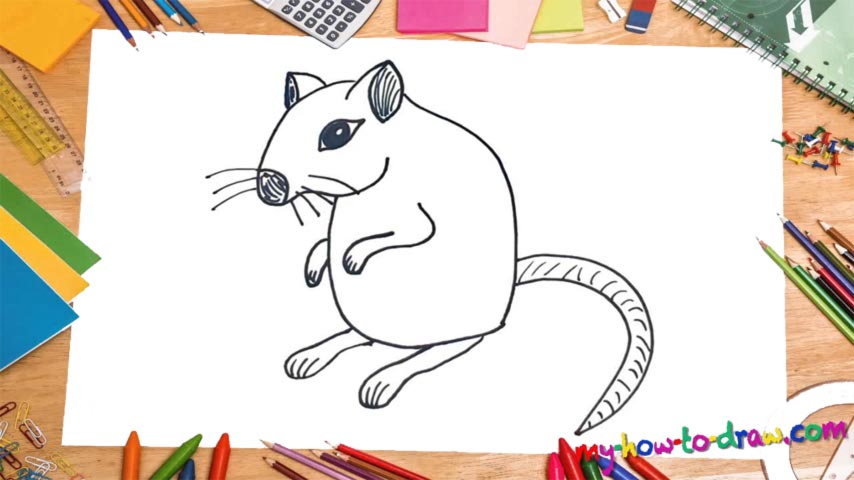
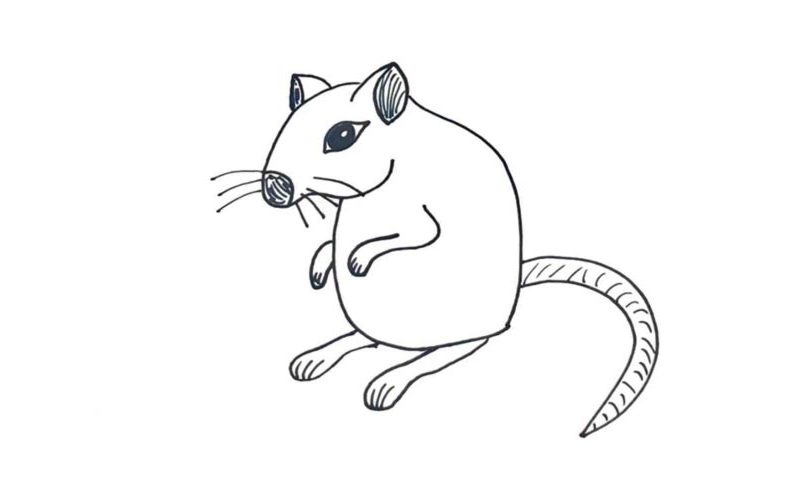
Getting the shape of the head right is one of the most important tasks in this video (00 min 08 sec). Add the nose if you’re happy with the result and color it black (00 min 18 sec). The huge eye, the next step in this how to draw a Gerbil tutorial, sits approximately in the middle of the head (00 min 33 sec). It looks a lot like a human eye, by the way.
The right eye sits above it (00 min 55 sec). It shouldn’t be very edgy, and the outer part must be colored black. Same goes for the left ear (01 min 06 sec). The whiskers are the last facial feature in this drawing (01 min 22 sec). The shape of the body is very basic (01 min 34 sec). Start in the middle of the ear and stop directly under the eye.
The tiny hands are the next step in this how to draw a Gerbil tutorial (01 min 51 sec). They are a piece of cake; same goes for the super-long legs (02 min 02 sec). Ok, now we’re down to the last part: the huge tail (02 min 24 sec). You’ll need two identical curves for this. Once they’re done, draw a series of lines inside to make it look more realistic.
Before you learn how to draw A Gerbil, did you know?
This family of rodents includes 110 species, and they all look cute. The majority of these brutes is active during the day and hides in their “homes” when it becomes dark. You might know the clawed jirds as one of the most popular pets in modern-day history.
They are quite hardy and can overcome even the toughest obstacles on their way. Originally from China, they were transported to Europe (Paris, to be exact), and that’s when they became the new crowd favorites. Tiny and adorable (they are 6-12 inches long), the Gerbil is very much likable!