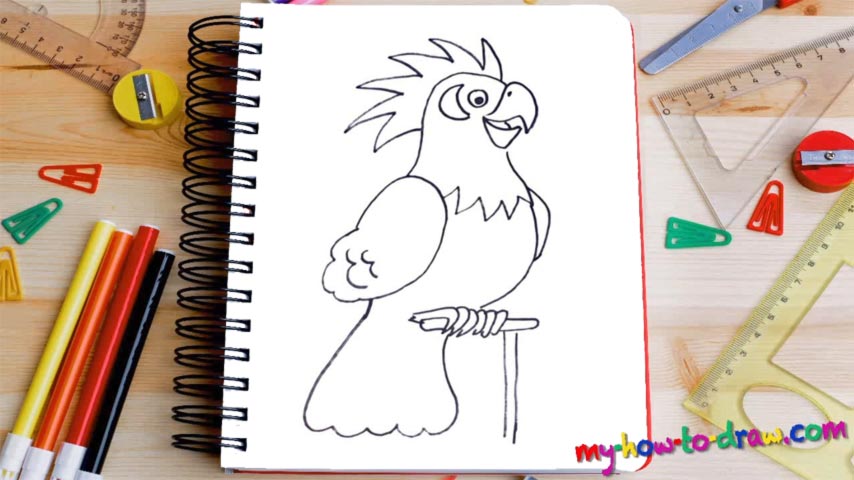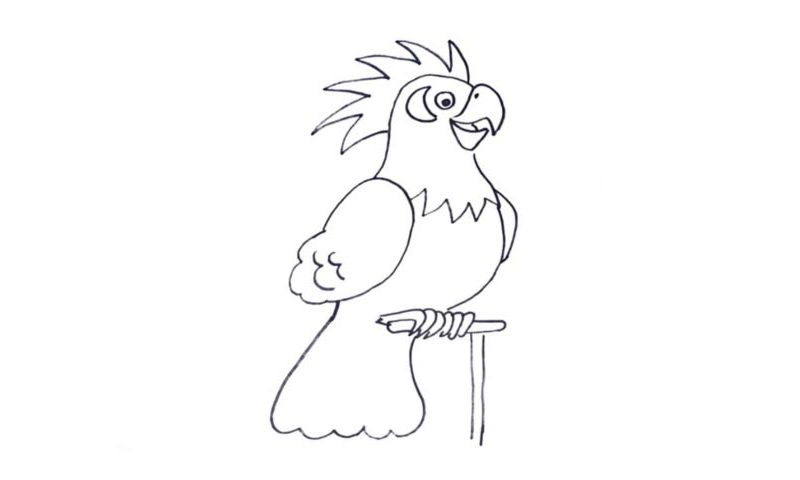
Learn How To Draw A Parrot Quickly
We begin with the beak, or, rather, the upper half of it (00 min 07 sec). The lines should be super-smooth and round. The lower beak sits right below it (00 min 14 sec). Don’t forget about the tiny nostril. The head is the next step in this how to draw a Parrot tutorial (00 min 30 sec). Again, use smooth lines and shapes. The line that separates the neck from the body is zigzag-like, though (00 min 37 sec).
Next, go back and add the one and only eye and the “half-moon” right behind it. The fancy haircut follows (01 min 00 sec). If you’re happy with everything and the drawing is looking good so far, jump to the bottom left corner and let’s work on the wing (01 min 10 sec). It must be moderately fluffy to accentuate the feathers. We can only see a tiny part of the right wing, but it’s there (01 min 29 sec).
Hey, we’re almost done with the how to draw a Parrot tutorial. Now we put in the sharp claws (01 min 46 sec). Don’t try to make them a 100% match with my drawing. Just make sure they look good. The parrot is sitting on a wooden construction (02 min 00 sec). Add it before moving on to the gorgeous tail. It’s curvy on the sides and fluffy at the bottom.
Before you learn how to draw A Parrot, did you know?
Even if you’ve never seen Parrots in your life, we bet you still know how they look like and what their “talents” are. These birds are capable of copying the sounds we make and even speak whole words and phrases. That makes them special and funny all at the same time.
They come with a very strong and curved bill, mighty feet and potent legs that allow them to stand their ground. They feed on nuts, seeds, buds – stuff like that. Parrots are considered to be one of the most intelligent birds on planet Earth. Unfortunately, some breeds are endangered.