Learn How To Draw A Bag Quickly
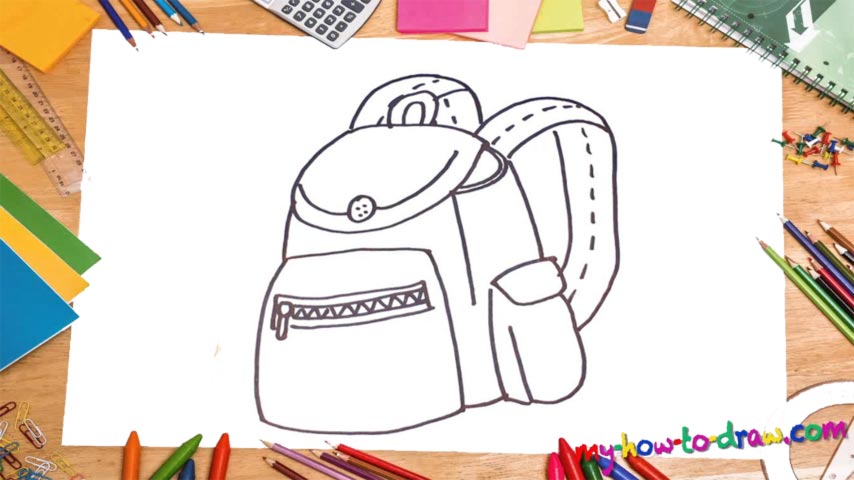
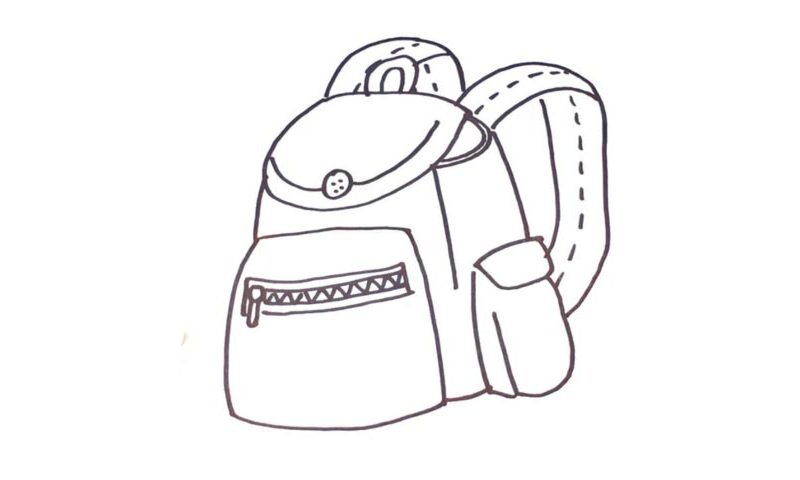
Let’s start with the big pocket upfront (00 min 08 sec). The next step is the zipper that’s located in the upper corner (00 min 20 sec). This is one of the most important parts of the how to draw a Bag tutorial, so, treat it respectively. You’ll need four similar horizontal lines that sit on top of each other and a zigzag exactly like you see in my video example.
Don’t forget about the zipper in the left corner (00 min 40 sec). Alright, now that we’re done with all that, it’s time to take care of the rest of the bag. The part that covers the main “body” of the bag is located above the pocket we just completed (01 min 00 sec). Don’t forget about the button and add it before switching to the right side. This is the next stage in the how to draw a Bag tutorial.
As you can see, the lines are very straightforward and easy. At the same time, you’ll need to be extremely accurate with them. Use a vertical line to cover the upper half of the bag (01 min 20 sec). There’s yet another pocket in the lower corner that looks like a smaller copy of the original. The final thing to do is to create the handles in the back (01 min 42 sec). They’re huge, but also a piece of cake.
Before you learn how to draw A Bag, did you know?
If you’re an active human being and love to travel a lot, then a bag is a big part of your “gear”. You can hold it in your hands or carry it on your back and turn into a modern-day hipster. Put all the important stuff in there and hop on an unforgettable adventure!
Kids use bags to carry their books and copybooks. The grown-up folks who respect the urban style use them as a part of their “swagg”. Thanks to the technological age, you can order a unique print and have it delivered to your home in a matter of hours.