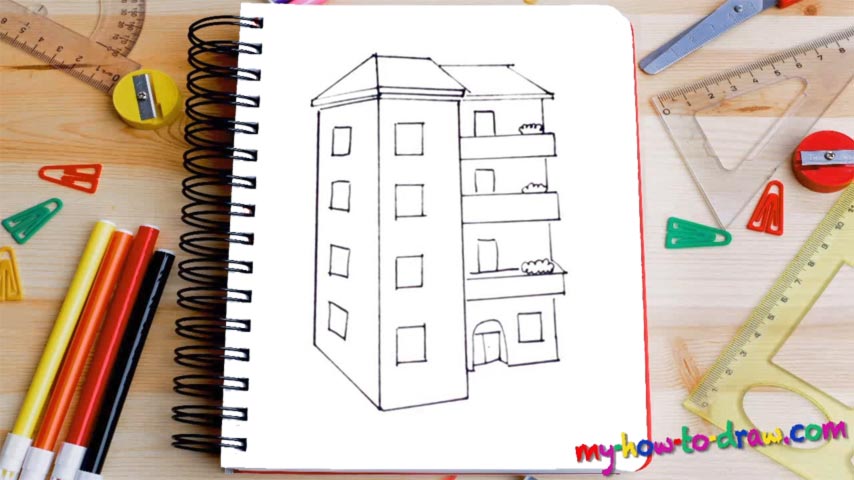
Learn How To Draw A Building Quickly
As you can see, I’m using a ruler to get the lines nice and straight. Do the same if you want your end result to be perfect (obviously, that’s not necessary if you’re a fan of graphics editors). In this how to draw a Building tutorial, we’ll be working on a 3D model. Start with adding three vertical lines that sit next to each other (00 min 10 sec). It’s clear that they’re a bit tilted to the right, and it’s totally Ok.
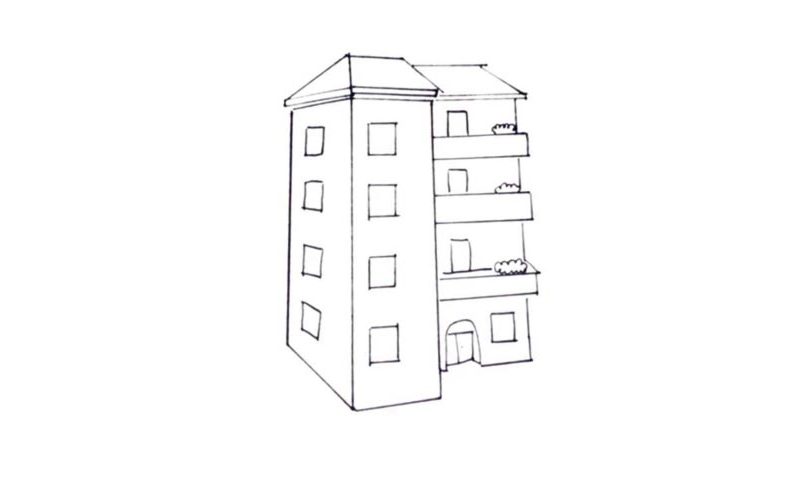
Once they’re in place, connect them to each other using two simple lines just like I did (00 min 53 sec). Same goes for the top; now move on to the roof (01 min 30 sec). It’s pretty regular and will be a piece of cake. Once you’re done with it, get to the right side of the building (02 min 33 sec). I’m leaving blanks for the balconies. You can follow my lead or just use an eraser after you add a full line.
Overall, there are 3 balconies, and they all look identical. This is a very important part of the how to draw a Building tutorial (02 min 43 sec). The door sits at the very bottom and looks like an arc (03 min 25 sec). The windows on the left are the final step in this video guide (03 min 45 sec). Either use the ruler or do it all manually. And don’t forget about the doors and the cute flower on the right side (04 min 45 sec).
Before you learn how to draw A Building, did you know?
Architecture plays a vital role in our lives – has been ever since we came around. Different countries and nations around the world have different architecture, and it defines their history, heritage, customs, traditions, and the very way of living – there’s no denying that.
And while modern-day buildings look truly stunning (say, the skyscrapers in Dubai or some of the European beauties), the ancient structures can also thrill and impress. The balance between legacy and modernism is what allows us to stay true to ourselves and still pay homage to our ancestors.