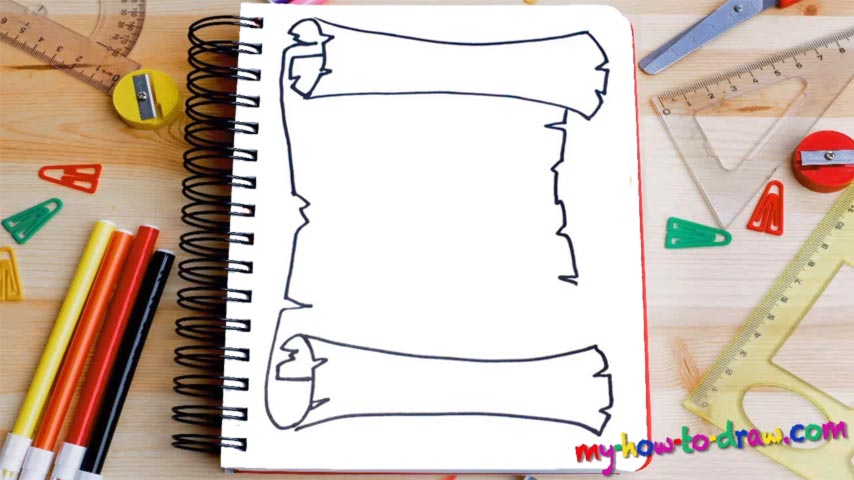
Learn How To Draw A Parchment Quickly
We live in the 21st century, and the modern-day folks, especially the kids, are more used to writing in their gadgets than on a piece of paper. And that’s what makes this how to draw a Parchment tutorial special. Today we’ll use our pencils to create a “remnant” from the ancient times. Start at the very top with the “scroll” (00 min 06 sec).
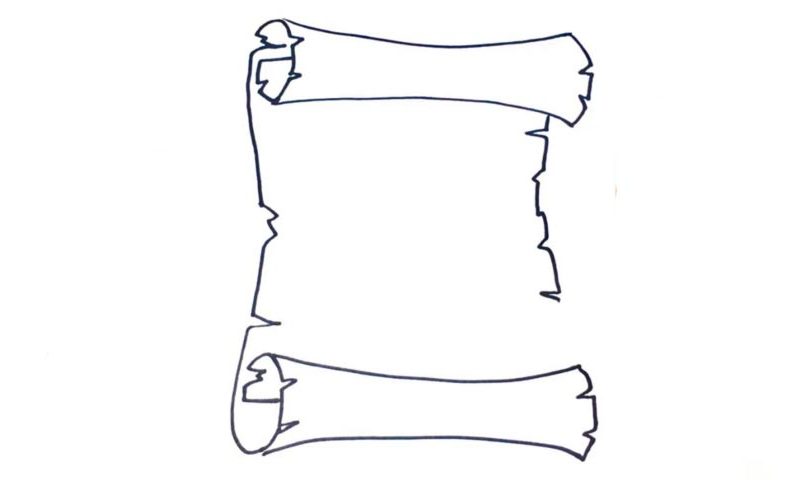
Since this is an old piece of an animal’s skin, it’s not perfectly smooth and comes with perky edges. Once the top is done, go ahead and use a long vertical line to cover the left side (00 min 43 sec). Again, it’s not super-straight and you’ll need to pay attention to the tiny imperfections to make it look more realistic. There’s another scroll at the very bottom (00 min 59 sec).
This is the next step in this how to draw a Parchment tutorial. It’s an almost exact copy of the one at the top. If you’re happy with it, go ahead and get to the last step in this video guide – the right side (01 min 23 sec). It’s a lot more “zigzaggy” than the left side and doesn’t begin at the very edge. Ok, that’s it for this tutorial. If you want, draw something on your parchment. But make sure it’s something wise and logical!
Before you learn how to draw A Parchment, did you know?
You might think that this is just a fancy piece of paper, but there’s actually more to it than meets the eye. We make paper using regular wood, while for parchment, our ancestors used untanned skins of goats, sheep and other domesticated animals around the world.
Get this: humanity had been using parchment for more than two millennia! Unfortunately, sometimes it’s almost impossible to determine the exact animal species/breed that was used to make a certain parchment. These days, we use this term to describe any animal skin that was dried under a huge amount of tension.