Learn How To Draw A Sad Emoji Quickly
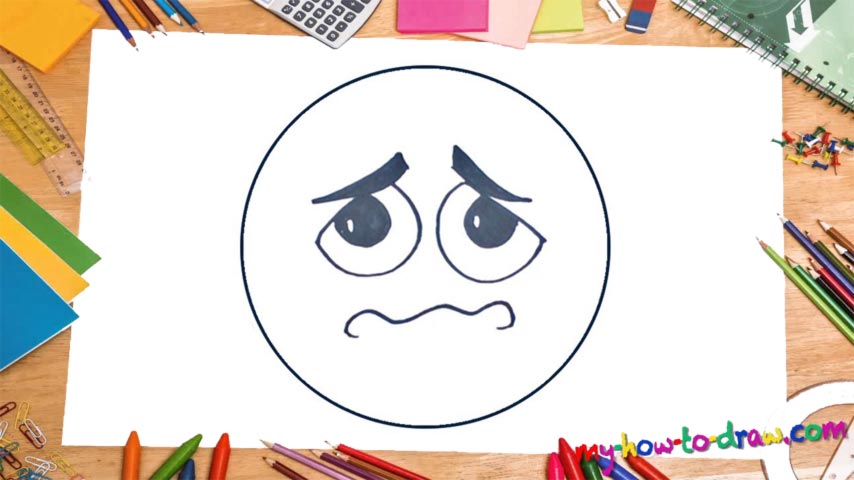
Do you know what is the most important thing when it comes to drawing these adorable faces? That’s right – the expression. In this how to draw a Sad Emoji tutorial, we’ll focus on the eyes and the mouth in an attempt to deliver the best possible image. Begin with a huge circle in the middle for the hero’s head (00 min 08 sec). You can clearly see that it’s not a perfectly-round shape.
But that’s actually quite alright because the imperfections accentuate the mood of this fella. Once it’s in place, you can move on to the eyes (00 min 18 sec). First of all, put a half-moon in the top right corner. Then, draw a half-circle inside of it and color it black (00 min 24 sec). Don’t forget to leave a little bit of white for the pupil. That’s it for the eye. The brow (also colored in black) comes next in this how to draw a Sad Emoji tutorial (00 min 41 sec).
Yes, the eyes are identical to each other, except that the left brow is positioned a bit lower, which gives the drawing a nice touch. So, don’t just copy the right eye – spend some time and do everything manually. The mouth that looks more like a wave in the ocean than a facial feature is the last thing to take care of (01 min 34 sec). Experiment with it if you want to find the perfect expression.
Before you learn how to draw A Sad Emoji, did you know?
These funny faces have taken over the world, and there’s nothing we can do about that. Hollywood even released a highly-successful animated movie that featured a number of emojis on their quest towards happiness. Both the little ones and the grown-ups loved it.
We use this feature to express our emotions/mood without having to spell everything out and/or talk about it verbally. And you’re not limited to only one: put as many as you like next to each other if there’s more than one emotion you need to express. Fast, accessible, and expressive, they are the new normal in dialogues.