Learn How To Draw A Parakeet Quickly
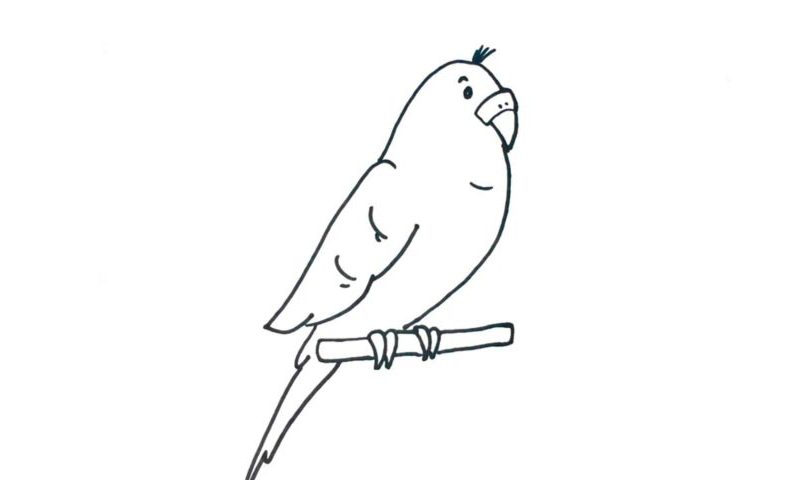
There’s nothing hard about this bird’s drawing. So, get ready to have some fun with me today in this how to draw a Parakeet tutorial. Of course, the beak comes first (00 min 10 sec). It consists of two parts: a simple shape at the top and a more “edgy” one that resembles the claws of a predator. Once they’re both in place, use two long and curvy lines to cover the head and the bottom of the body (00 min 24 sec).
The tiny eye and the brow sit pretty close to the beak (00 min 36 sec). And don’t forget about that fancy “haircut” (00 min 44 sec). Happy with everything? Ok, let’s get to the left wing then (00 min 58 sec). The shape is simple, but it’s important to keep the proportions right. The lines inside will make it look more realistic.
The tail is the next step in this how to draw a Parakeet tutorial (01 min 10 sec). It’s super-thin and sits at the very bottom of the paper. The final step is the piece of wood that our bird is holding on to (01 min 18 sec). See those claws on both sides? We’ve got four in total, and they complete this wonderful video lesson.
Before you learn how to draw A Parakeet, did you know?
This term is used to describe a pretty large number of parrots living on planet Earth. They come in all kinds of different colors and usually have long feathers on their tails. Just take some time and check out the various species on the Internet – don’t they just look great?
Mother Nature is known for creating a wide range of color combinations and shapes, and when it comes to parrots, she certainly did have a lot of fun. The most popular parakeet was first discovered (or, rather, described) in 1891, more than 100 years ago. When I said popular, I meant that it’s the most wanted pet parakeet in USA and Europe.
