Learn How To Draw A Jar Quickly
We’ll start in the left corner with a straight horizontal line (00 min 12 sec). Once it’s in place, add another one just like it in the right corner (00 min 20 sec). This is the intro to our how to draw a Jar tutorial. However, don’t lock them up at the bottom. Instead, use a series of simple curves to create the piece of bread that’s lying in the lower corner.
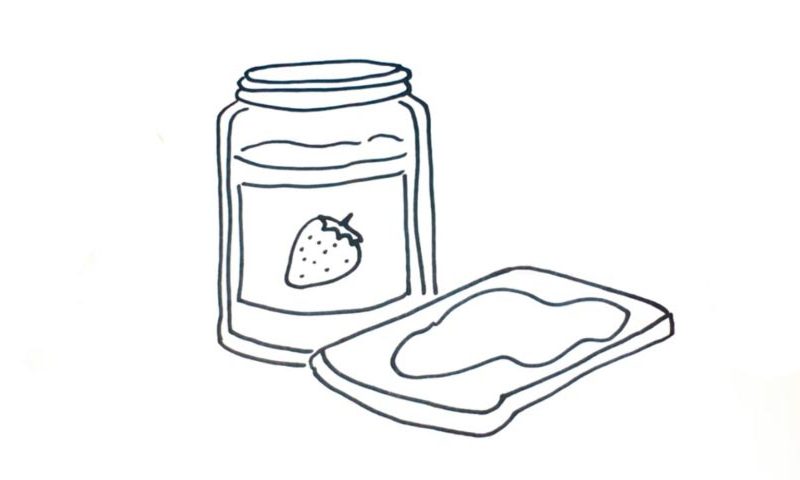
Remember: it’s in 3D, which means you’ll have to be accurate with those lines. Add the top layer first and only then work on the bottom for that three-dimensional look (00 min 40 sec). See that chaotic shape on top of the bread? It’s probably the peanut butter from the jar. Ok, let’s get back to the container and work on the lid (00 min 57 sec).
Use a series of simple oval shapes to complete this stage of the how to draw a Jar tutorial. The horizontal curves in the upper corner are there for the jam/butter (01 min 20 sec). The last thing on the menu is the strawberry painted in the front corner of the jar (01 min 35 sec). Yes, we’re done with this video guide!
Before you learn how to draw A Jar, did you know?
Nothing special about a jar. We just use it to keep all kinds of stuff in one place. Some folks put candy in there, while others use jars to store their jewelry, old coins – stuff like that. Basically, it’s a container, made of glass and/or plastic, which makes it pretty cheap.
Don’t store liquids in there, though, because you’ll probably end up spilling them anyways. In America, people use jars to store home-made preserves. Peanut butter is one of the most frequent “guests” in these containers. As you can see in our video guide, we’ve also got a slice of bread standing next to it, ready to be blessed with whatever the jar’s full of.
