Learn How To Draw A Pair Of Shoes Quickly
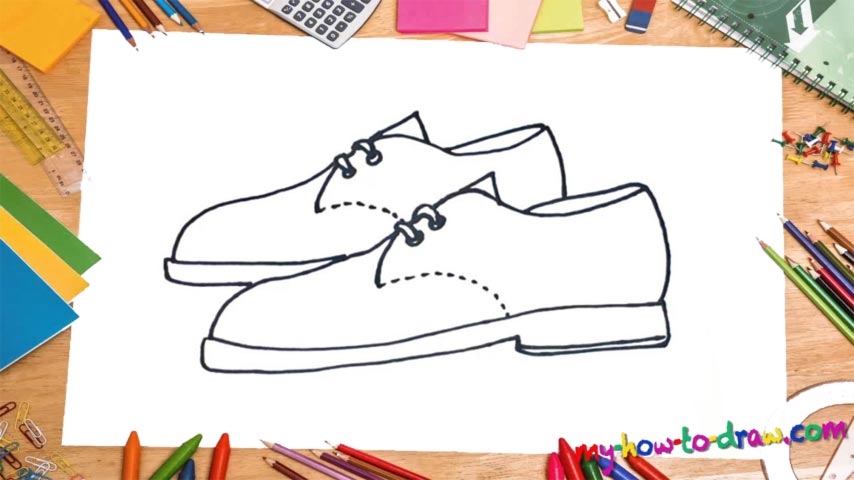
As you could’ve already guessed from the title, we’ll be drawing not one, but two shoes in this video guide. And the one in the front comes first (00 min 07 sec). You’ll need to add the bottom before moving on to the top. This is the intro to the how to draw a Pair Of Shoes tutorial. It’s nice and long and sits in the lower corner of the paper.
If you’re happy with everything, use a series of simple lines to complete the shoe itself (00 min 30 sec). After you put in the vertical line and the horizontal V-like curve, add another (much shorter) line to make the drawing look 3D (00 min 42 sec). The laces follow. Watch the video closely and connect the bottom of the shoe to the laces to complete the main body of it. That fancy line with dots is the final step (01 min 20 sec).
Ok, now we move on to the next stage in this how to draw a Pair Of Shoes tutorial – the second shoe (01 min 36 sec). It’s partially covered by the one we just made and will be a bit trickier to complete. At the same time, the two look identical, which means you can just “transfer” your lines and curves. If you’re working in a graphics editor, nothing’s stopping you from simply making a copy of the first shoe!
Before you learn how to draw A Pair Of Shoes, did you know?
We’ve got a fancy pair in this tutorial, one that fits a solid businessman with a busy schedule. The rest of us prefer something cheaper and more practical, like the oh-so-popular sneakers. They are much more comfortable and you won’t shed any tears if they get dirty or go bad.
At the same time, some people are used to the “official” status of a pair of shoes like that and can’t imagine their lives without them. Besides, do you know how great it feels to return home from a hard day at work and take them off? You’ll feel truly blessed! Treat your shoes with respect, and they’ll do the same for you.