Learn How To Draw A Pacifier Quickly
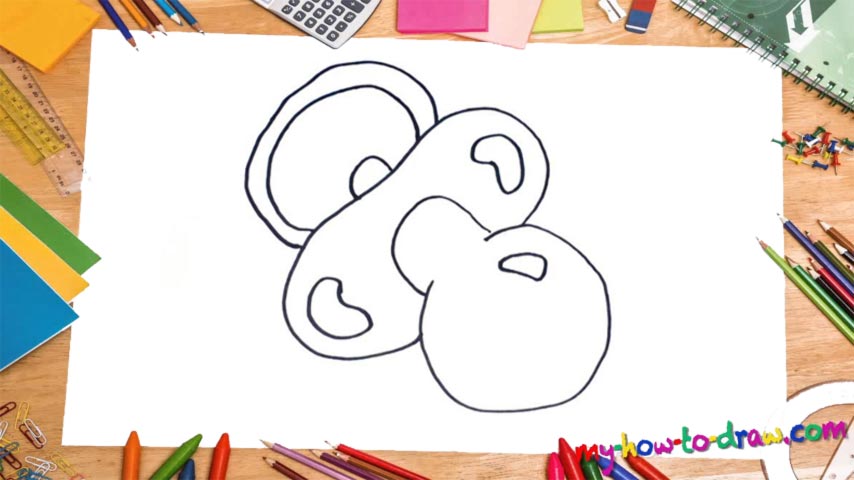
There are many new designs that are supposed to make the kids feel good, but we’ll focus on a more “conservative” pacifier today. It’s made up of three parts, and it will be wise to “conquer” them all in a step-by-step manner. Begin this how to draw a Pacifier tutorial at the very bottom of the paper by creating a round circle (00 min 07 sec). Leave a little bit of space in the top left corner, though.
Add a curvy line there to make it look like a Christmas ornament (00 min 16 sec). Before moving to the part in the middle, don’t forget about that tiny detail (00 min 23 sec). Alright, now we get to the meat and potatoes. See that huge oval shape right on top of the circle we just made? It’s the next stage in this how to draw a Pacifier tutorial.
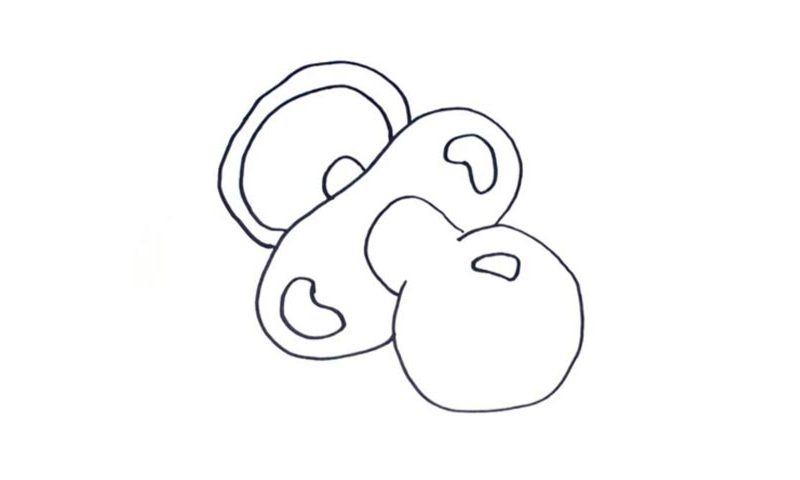
It comes with two shapes on both sides that resemble donuts of some sorts (00 min 35 sec). The simple curve there shows us that this whole thing is connected (00 min 42 sec). Hey, we’re almost done with this lesson. All that’s left to do is draw two identical half-circles that sit on top of each other. Now we’ve got a proper pacifier in our hands!
Before you learn how to draw A Pacifier, did you know?
That’s a pretty cool name, isn’t it? Basically, folks use pacifiers to keep their babies busy. Without them, they’ll cry all the time and put all kinds of bad stuff into their mouths. Sometimes, the infants suck on dangerous stuff (something sharp and potentially lethal).
That is why humanity came up with this funny thing. Have at least a couple of them lying around if you’re planning to bring another human being into this world in the nearest future. They are quite cheap and you’ll be able to get them at the local stores for almost nothing.