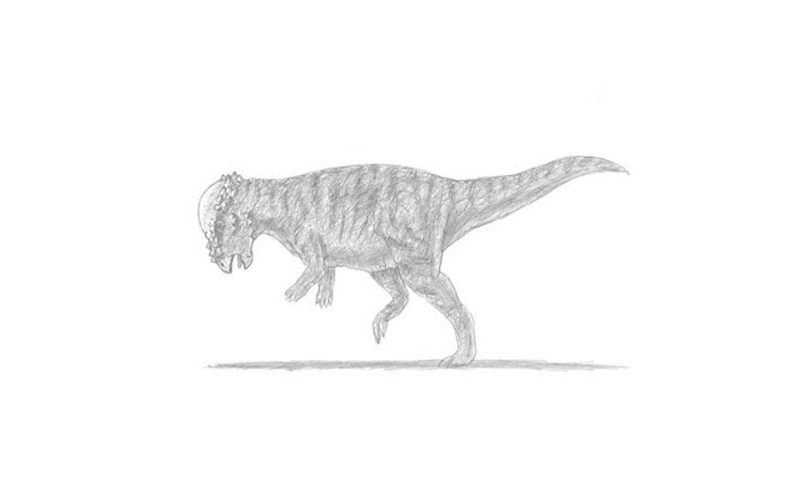
Learn How To Draw A Pachycephalosaurus Quickly & Easily
Relax: even though this is a dinosaur, it’s actually one of the easiest tutorials on our website. And to make our job easier, we recommend starting with three guiding circles (00 min 07 sec). As you can see, they get bigger the further you move to the right. The “triangles” below the smallest circle are for the mouth (00 min 18 sec).
Those short and skinny lines, in turn, will serve as guides for the hands and the legs (00 min 21 sec). For the tail in the far right corner, use two wavy lines (00 min 28 sec). Ok, the intro to this how to draw A Pachycephalosaurus tutorial is completed. Now let’s focus on the face (00 min33 sec).
The tiny eye is easy; the “texture” on top of it consists of similar shapes that sit next to each other. It is very important to get the length of the hands and the legs right (01 min 08 sec). Notice that the leg on the other side is bent (01 min 22 sec). We’re almost done with the how to draw A Pachycephalosaurus tutorial. All that’s left to do is to get rid of the guiding lines (01 min 29 sec).
Before you learn how to draw A Pachycephalosaurus, did you know?
In Greek, this difficult name literally means “the lizard with a thick head”, and it’s quite a scary dinosaur. Before this beast went extinct, the Pachycephalosaurus used to live in modern-day North America (the USA). However, despite the intimidating looks, it was an herbivore creature.
That means fruits and leaves made up its diet. According to the experts, it used its thick skull to battle rivals from the same species to conquer territory and the win over the females. Even though these dinosaurs aren’t particularly popular in mass culture, they certainly do deserve more attention.

