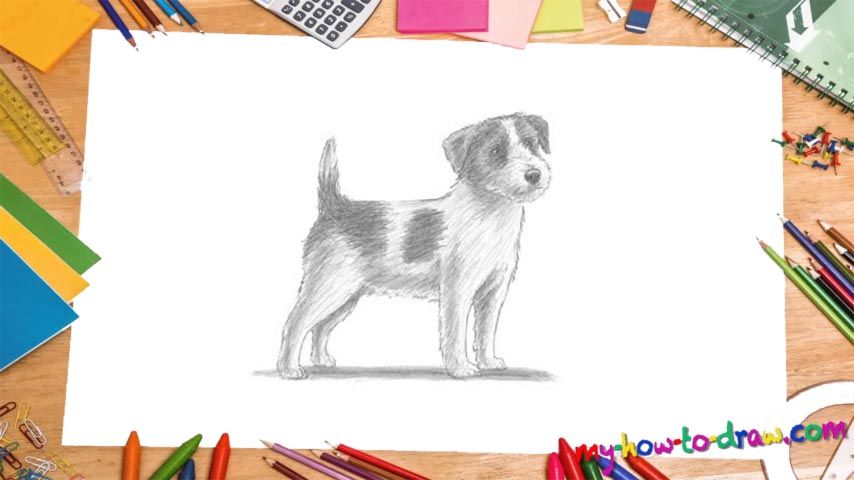
Learn How To Draw A Jack Russell Terrier Dog Quickly & Easily
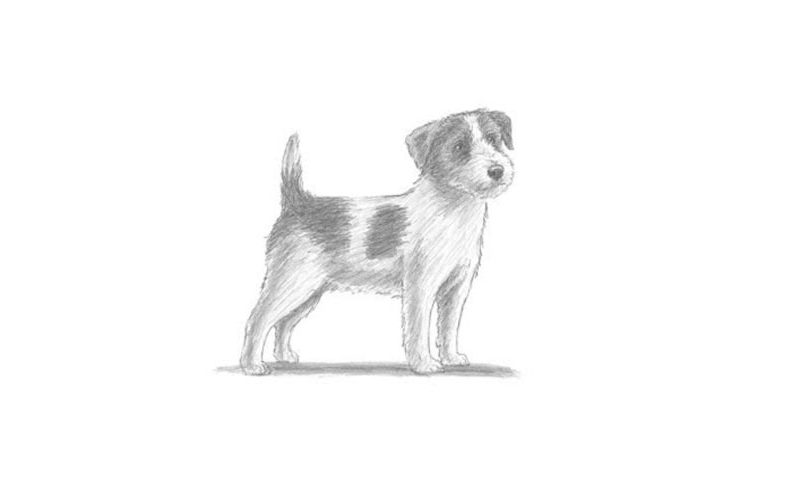
See those guiding circles covering most of the space on the paper (00 min 07 sec)? Make sure to add them first before moving on with this how to draw A Jack Russell Terrier Dog tutorial. And, pay extra attention to their respective positions in order to get everything right.
Once they’re in place, add two triangles on the top of the head for the ears and a small circle for the muzzle just like we did (00 min 18 sec). The skinny legs and the tail complete the guiding lines. Now let’s get to the eyes (00 min 31 sec). Try to make the left eye visually bigger than the right one.
For the brows, use short strokes (00 min 42 sec). The nose should sit in the middle of the tiny circle we added earlier (00 min 45 sec). It looks like a pig’s nose. The mouth is just one wavy line (00 min 52 sec). After you’re done with the head, move to the legs (01 min 08 sec). Each foot should have three toes and stand strong on the ground.
Follow the guiding lines but make the legs wider. To complete the how to draw A Jack Russell Terrier Dog tutorial, use wavy lines to cover the entire body (01 min 27 sec).
Before you learn how to draw A Jack Russell Terrier Dog, did you know?
There are thousands of dog breeds living on planet Earth. So, what’s special about this one? Well, these animals are definitely great at hunting. The flexible muscles, strong feet, and smart brains allow them to prevail in stalking their prey and following the tracks from many miles away.
Another interesting fact: these dogs look pretty good, and for that reason, they have appeared in numerous movies, TV series, and even live shows. Highly energetic, friendly, and reliable, this breed is considered to be one of the most easily tamed ones on the planet. And, the baby Jack Russell dogs are super cute!