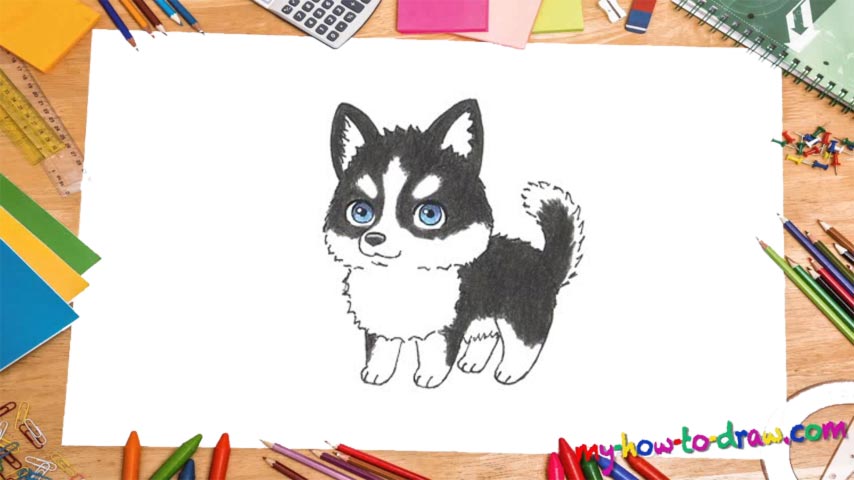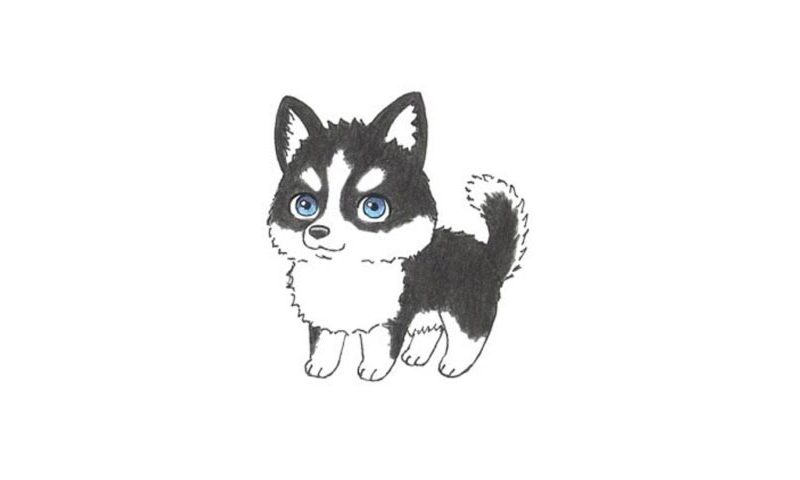
Learn How To Draw A Cartoon Husky Dog Quickly & Easily
The big, beautiful eyes come first in this video (00 min 07 sec). Basically, you’ll need two half-circles sitting next to each other. Make them nice and thick. The irises sit right below them (00 min 43 sec). See those black and white dots inside? Add them next in this how to draw A Cartoon Husky Dog tutorial. The nose looks like a tiny piece of stone (or a diamond) (01 min 21 sec).
For the mouth, you’ll need one short wavy line (01 min 36 sec). If everything’s looking good, move to the head (01 min 40 sec). Use short strokes to shape it but leave spots in the upper left and right corners for the ears. Use triangle-like curves to cover them (02 min 27 sec).
The body is the next step in this how to draw A Cartoon Husky Dog tutorial (02 min 56 sec). Create a half-circle with short strokes but leave some space in the lower right corner. That’s where one of the legs sits (03 min 13 sec). All four legs are identical to each other. The fluffy tail to the right is the final step of our guide (04 min 08 sec).
Before you learn how to draw A Cartoon Husky Dog, did you know?
Doesn’t this doggy look absolutely adorable? It does, but please keep in mind that it’s a little baby. A grown-up husky is a very capable dog and can travel for miles without rest. Plus, it is extremely enduring. People in northern regions are still using these beautiful animals as sled-dogs.
These days, tourist treks with huskies are becoming very popular, especially in the snow regions. Just imagine yourself sitting in a sled and rushing through a wonderful winter terrain with these dogs. By the way, they got their name from the Eskimo people (the English folks call them the “Huskimos”).