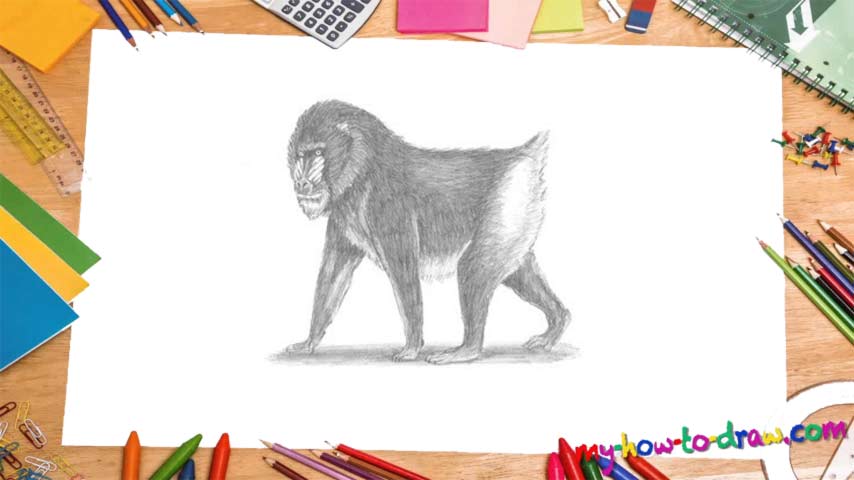
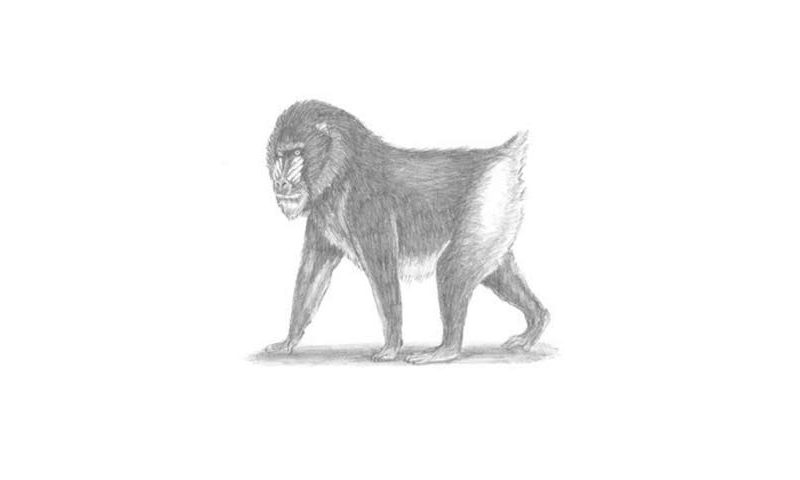
Learn How To Draw A Mandrill Quickly & Easily
For the animal’s body, we’ll need to add two guiding circles sitting next to each other (00 min 07 sec). There’s another circle, a smaller one, in the upper left corner, for the head (00 min 14 sec). Moving up with the how to draw A Mandrill tutorial, don’t forget about the half-oval at the bottom and the two dividing lines.
To mark the legs, just use 4 primitive “crutches” like I did (00 min 20 sec). The tiny eyes are the next step (0 min 30 sec). The nose should be nice and big; plus, tilt it a bit to the right. The mouth is just two wavy horizontal lines (00 min 47 sec). Most of the face should be white; the rest is black/brown.
For the legs, it’s important to make them nice and thick and to get their respective positions right (01 min 15 sec). As for the body, the final part of the how to draw A Mandrill tutorial, simply follow the guidelines and make everything a bit “fluffier” (01 min 42 sec). Switch to an eraser to get rid of those lines later. For coloring, use the shading technique as you see in the video.
Before you learn how to draw A Mandrill, did you know?
These primates look like they come from a different planet. Those long faces, tiny eyes, and cat-like bodies sure will impress anyone who sees them for the first time. Most of the mandrills prefer to live in tropical rainforests. It’s incredibly difficult for them to survive in any other environment.
Plus, these creatures like to live in large groups – that helps them fight off the predators more effectively. What do they eat, you might ask? Insects and fruits, mostly, which is more than enough for their bodies to function fully. According to the scientists, mandrills are the biggest monkeys on planet Earth.

