Learn How To Draw An Elephant Seal Quickly & Easily
To make it easier for us to keep the proportions right, let us begin this how to draw An Elephant Seal tutorial by adding three circles in the lower half of the paper (00 min 07 sec). The one in the middle should be nice and big; the other two on the sides – a bit smaller. Connect them all to each other using curvy horizontal lines (00 min 14 sec). Now the whole thing resembles a fidget spinner, huh?
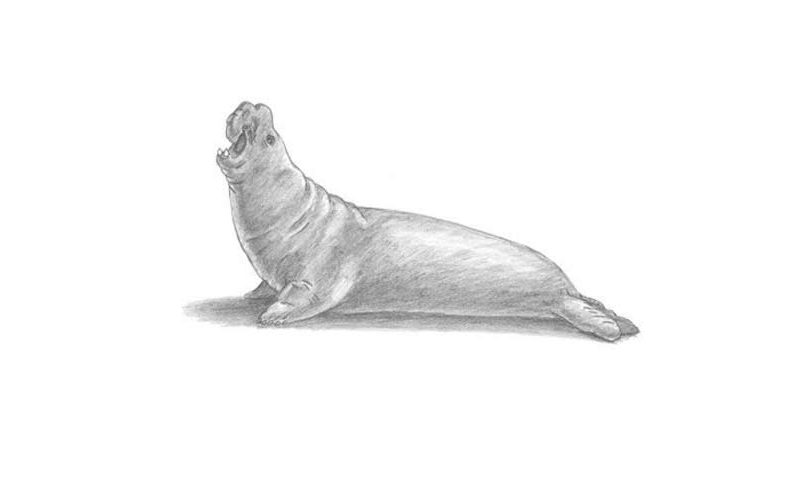
The head and the face are the hardest parts. The eye should be as small as possible (00 min 18 sec). Most people try to make the seal’s mouth unrealistically long – don’t make the same mistake! It should be short, yet look scary. We can only see two teeth in there (00 min 30 sec).
Ok, let us move on to the next step of this how to draw An Elephant Seal video-guide – the fins (00 min 36 sec). It’s got two in the front, and two in the back. Once you add those skin folds and get rid of the guides, the tutorial will be almost over. The final step is coloring (00 min 55 sec).
Before you learn how to draw An Elephant Seal, did you know?
These big, strong, yet slow mammals can reach up to 4000 kilograms in weight (we’re talking about the males; the females are considerably lighter) and are approximately 4-5 meters in length. That’s pretty impressive, right? Imagine being face to face with a group of these bulky creatures!
There are two species: the southern and the northern elephant seals, and the southern ones are significantly bigger and heavier. By the end of the 19th century, the poachers had driven their population to extinction. Thankfully, these days, the numbers are looking a lot better.
