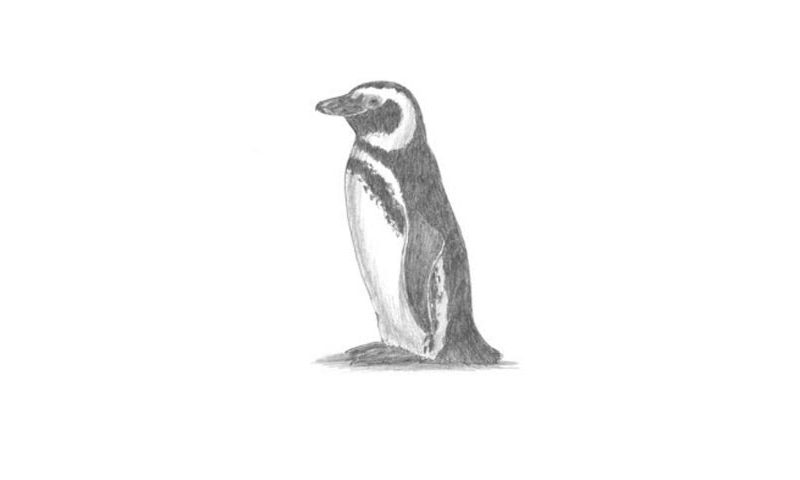
Learn How To Draw A Magellanic Penguin Quickly & Easily
As always, we’ll start by creating a series of circles to cover the main parts of the drawing. There are three in total – two for the body, and one for the head (00 min 07 sec). Once you’re done with the intro to this how to draw A Magellanic Penguin tutorial, use two dividing lines to “cut” the head and add the beak (00 min 18 sec).
Next, just join all the separate parts together and move to the eye (00 min 28 sec). Cut the beak in two to make it look more realistic. If everything’s looking good, move to the fin (00 min 48 sec). Make sure the curves are nice and smooth, not like in a triangle. The feet are pretty easy (00 min 57 sec).
Just add a series of horizontal lines on top of the guides at the bottom of the paper. Alright, that’s pretty much it! The tail should be nice and short; the body, in turn, must be tilted to the right a little bit. To complete this how to draw A Magellanic Penguin tutorial, erase the guiding lines (01 min 01 sec).
Before you learn how to draw A Magellanic Penguin, did you know?
This cute and funny species lives mostly in South America – in Chile and Argentina and the surrounding islands. However, sometimes, they travel all the way to Brazil and can be found in Rio. By the way, do you know why they’re called that? Well, the Portuguese explorer that found them was Mr. Magellan, and he gave them his name.
He saw these birds back in 1520. Sadly, even though they’re still alive after so many years (almost 5 centuries), they are classified as Near Threatened. The average Magellanic Penguin weighs 2.5-6.5 kilograms and is 60-75 centimeters tall. And, as often in nature, the males are bigger and stronger than the females.