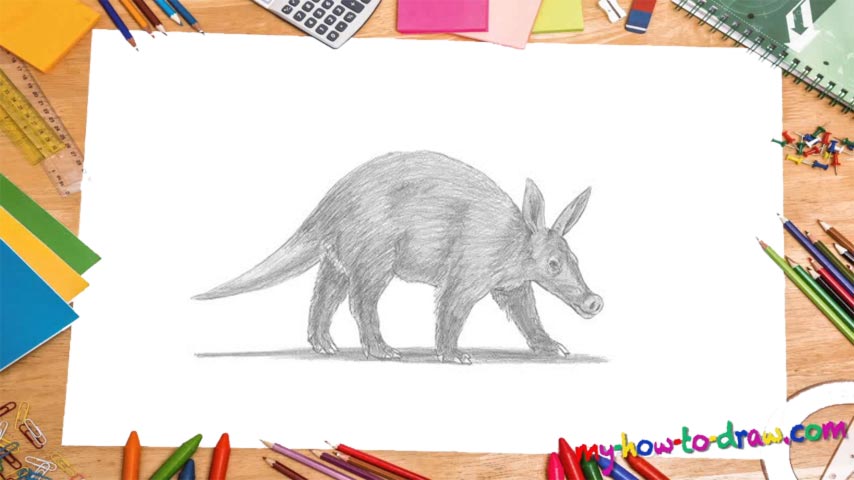
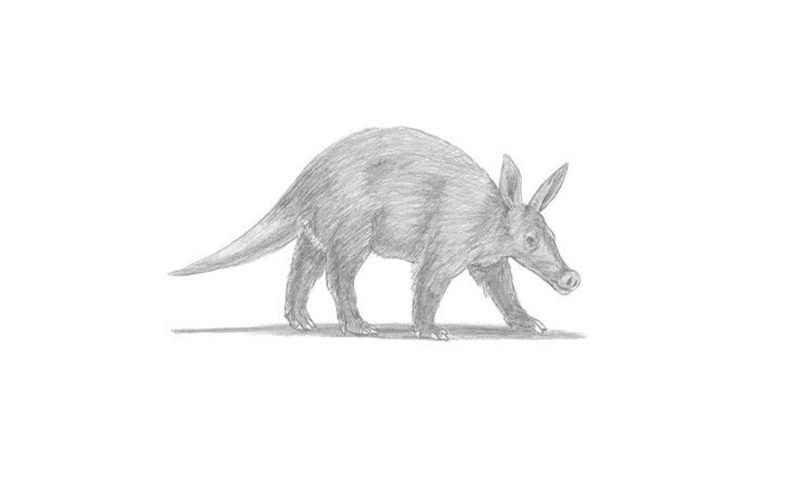
Learn How To Draw An Aardvark Quickly & Easily
As you can see, we’ve got three guiding circles at the bottom of the paper (00 min 07 sec). They will make it easier to keep the proportions and the shapes right. Once they’re in place, don’t forget to add the animal’s muzzle in the right corner (00 min 15 sec). The ears sit right on top of the head – make them nice and long (00 min 17 sec).
To complete the intro to this how to draw An Aardvark tutorial, go ahead and add four thin lines for the legs and a horizontal curve for the back (00 min 20 sec). The eye sits a bit to the right of the center of the head (00 min 29 sec). The nostrils are just two thick lines/dots next to each other (00 min 35 sec). The nose should look like that of a pig.
The legs, in turn, must follow the shape of the guides but be much thicker and stronger (00 min 55 sec). The tail is the final part of this how to draw An Aardvark tutorial (01 min 16 sec). Before we say goodbye, don’t forget to get rid of the guiding lines.
Before you learn how to draw An Aardvark, did you know?
We bet you’ve never even heard about this animal, but it’s actually quite exciting. Fact: the aardvark lives in Africa and is the only surviving member of its order. It uses that long, cute, pig-like snout for sniffing out potential food. The aardvark is very strong and resilient – it can travel for days.
So, how does it feed, you might ask? This mammal’s primary diet consists of ants, and it uses the sharp claws to dig them out of their homes. Note: the aardvark is a nocturnal creature (that means it prefers to hunt during the night and sleep during the day) and uses its legs to create burrows.

