Learn How To Draw A Starfish Quickly
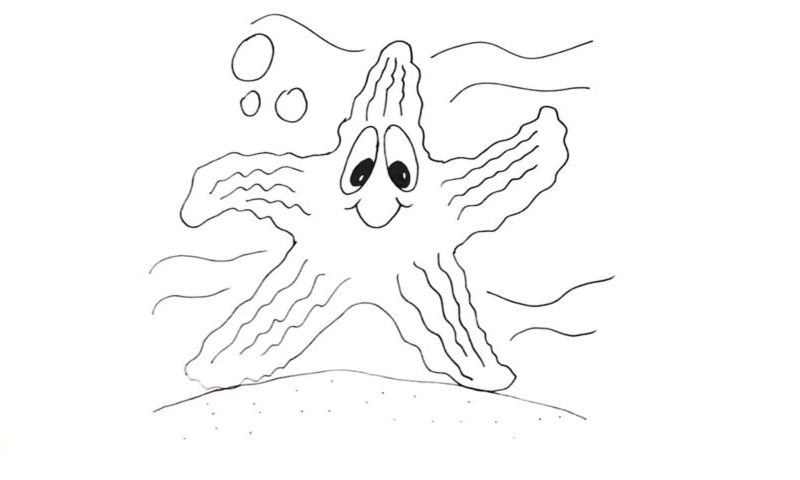
Basically, this is a regular star with “stripes” all over it and a cute face in the middle. We’ll start this how to draw a Starfish tutorial with the upper “spike” (00 min 06 sec). Once it’s in place, move on to the other limbs. Don’t rush it: this process demands a calm and peaceful state of mind. Make sure the hands look exactly like you see them in the video.
Say, the right one is slightly tilted upwards (00 min 22 sec). The legs should be nice and strong and have a confident stance. If you’re happy with the star, move on to the center of it to work on the eyes and the mouth. The eyes look pretty funny (01 min 04 sec). They are identical to each other. Use oval shapes to outline them and black circles in the lower corners with white dots.
The mouth is just a simple curve (01 min 40 sec). Alright, we are almost done with this how to draw a Starfish tutorial. All that’s left to do is add the stripes I mentioned earlier (01 min 55 sec). Oh, and don’t forget about those lines and circles around the starfish (02 min 40 sec).
Before you learn how to draw A Starfish, did you know?
According to the experts, there are 1500+ species of starfish living on planet Earth, and you can find them on the seabed of the oceans. American/European tourists that travel to far-away places really love to check these creatures out, as they are hard to find in their hometowns. However, they live 6K meters below the surface, which makes them harder to catch.
Starfish aren’t very popular as food, as they usually have an unpleasant taste and can be poisonous. People in South Asia usually use them as bait for fish; at the same time, some folks prefer to cook their meat and make some pretty delicious meals. By the way, these creatures are also popular as collectibles – ornaments and such.
